Contact Form 7
Please make sure, you've installed the Contact Form 7 plugin.
 You need to customize the fields according to this image.
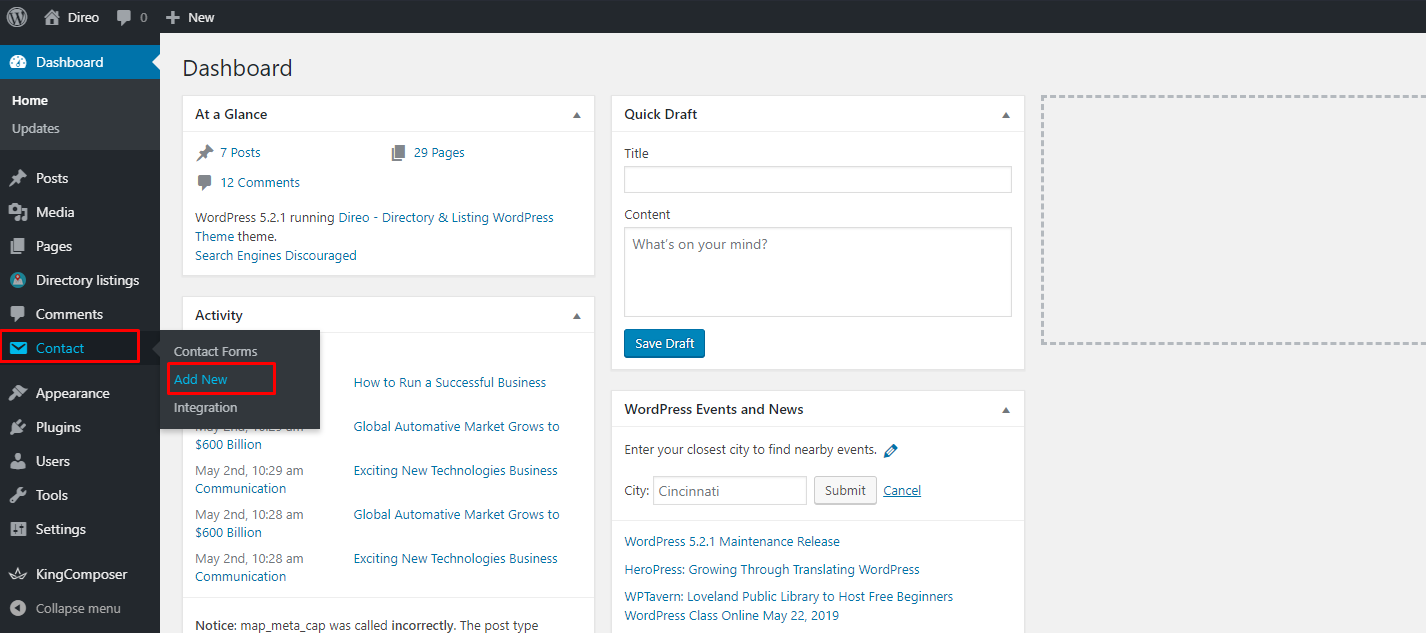
- Dashboard >> Contact >> Add New
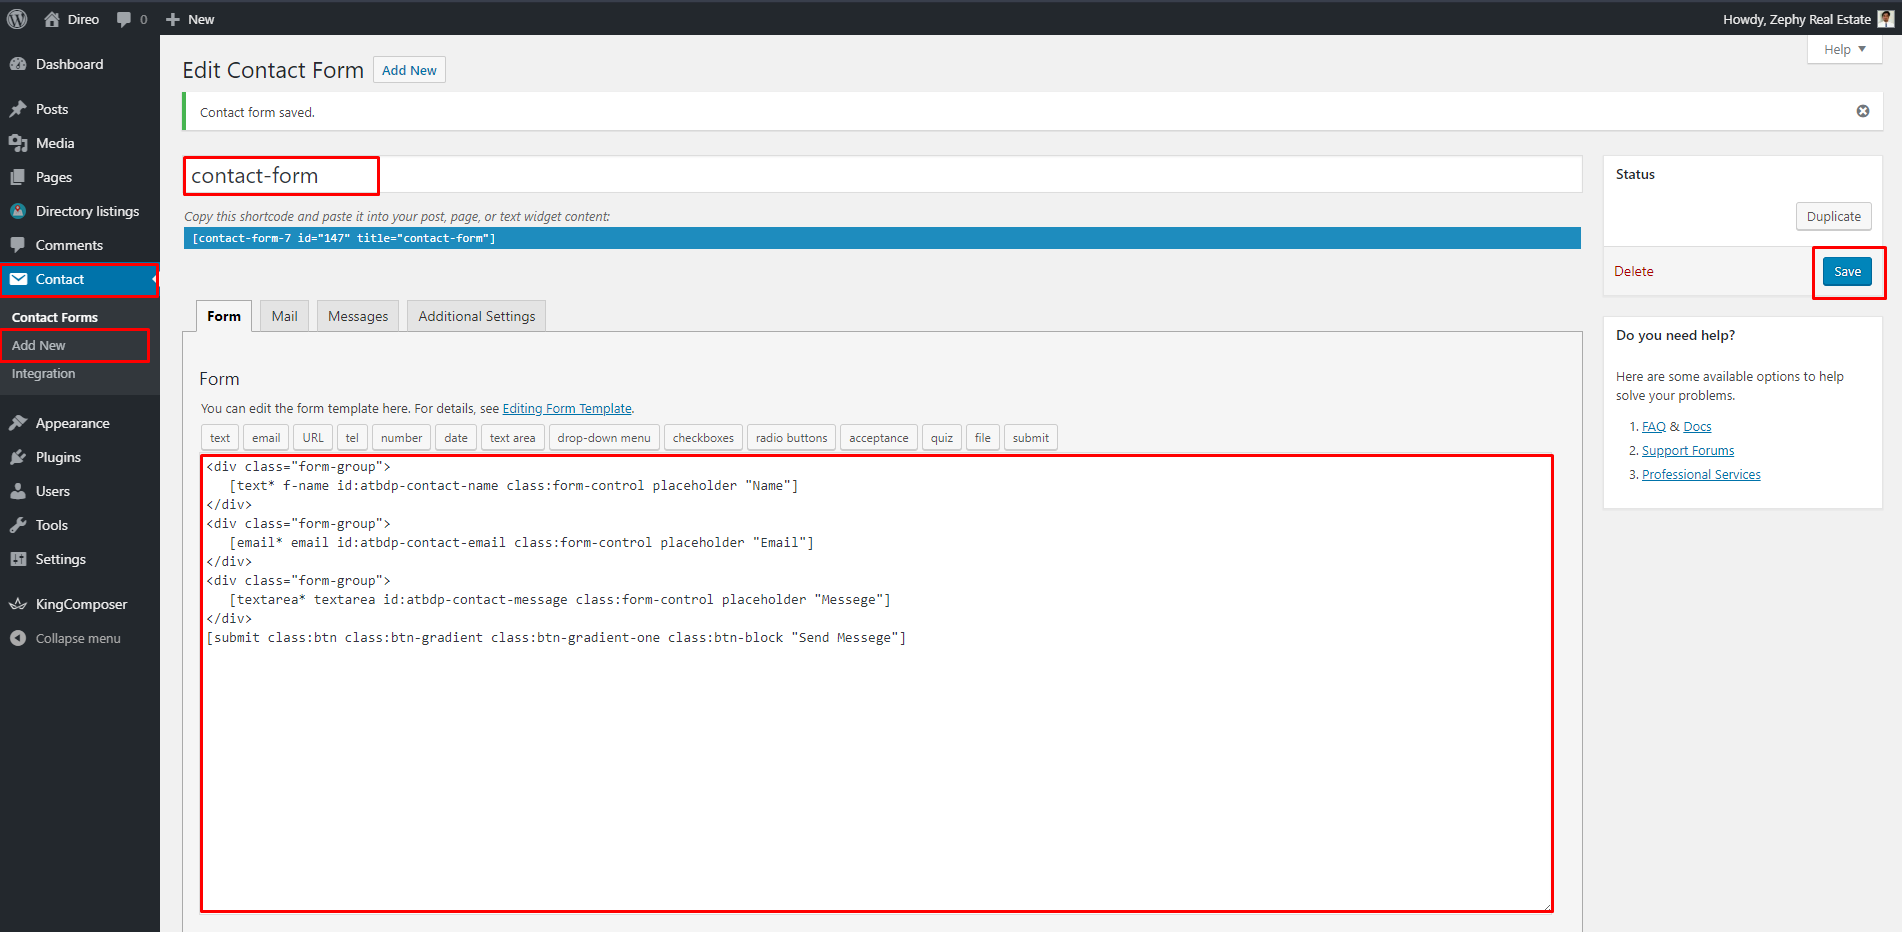
- Insert a title for your contact form. Eg. Contact Form
- Replace the content of the Form with the following form code
<div class="form-group">
   [text* f-name id:atbdp-contact-name class:form-control placeholder "Name"]
</div>
<div class="form-group">
   [email* email id:atbdp-contact-email class:form-control placeholder "Email"]
</div>
<div class="form-group">
   [textarea* textarea id:atbdp-contact-message class:form-control placeholder "Messege"]
</div>
[submit class:btn class:btn-gradient class:btn-gradient-one class:btn-block "Send Messege"]
- Then click on the 'save' button.
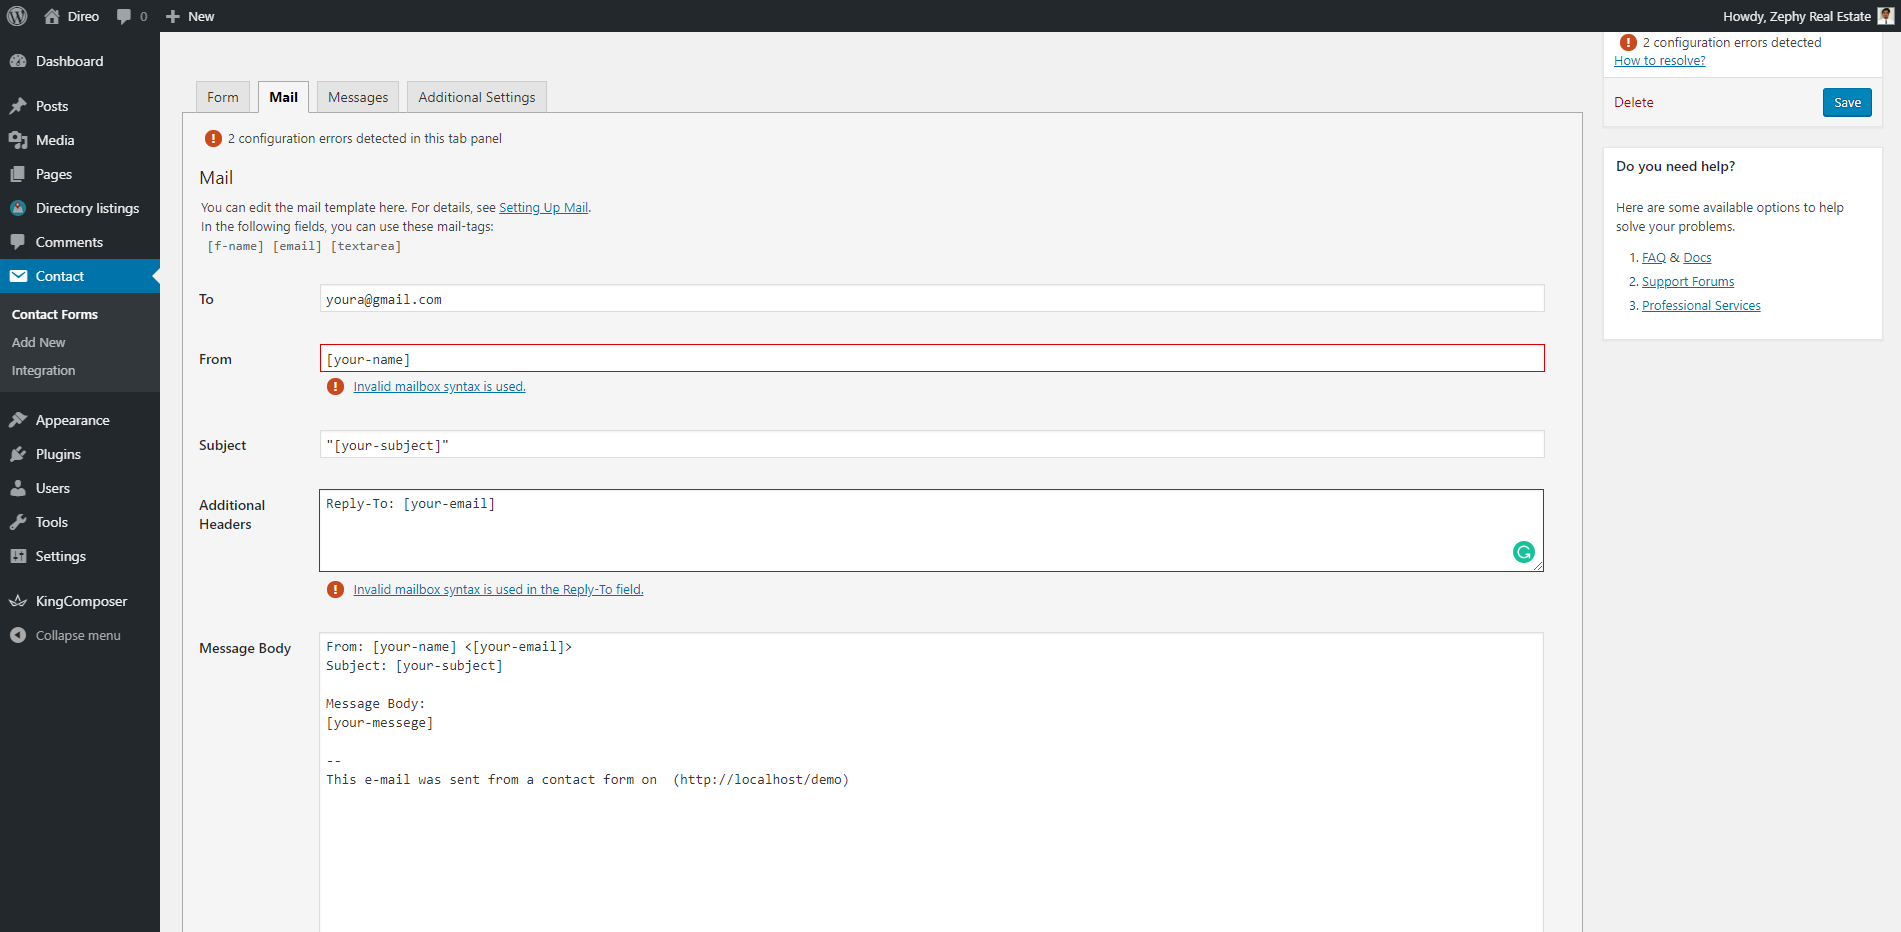
Mail configuration
After you have finished adding form fields, switch to the 'Mail' tab and set up email submission and message template options. By default Mail options look something like this
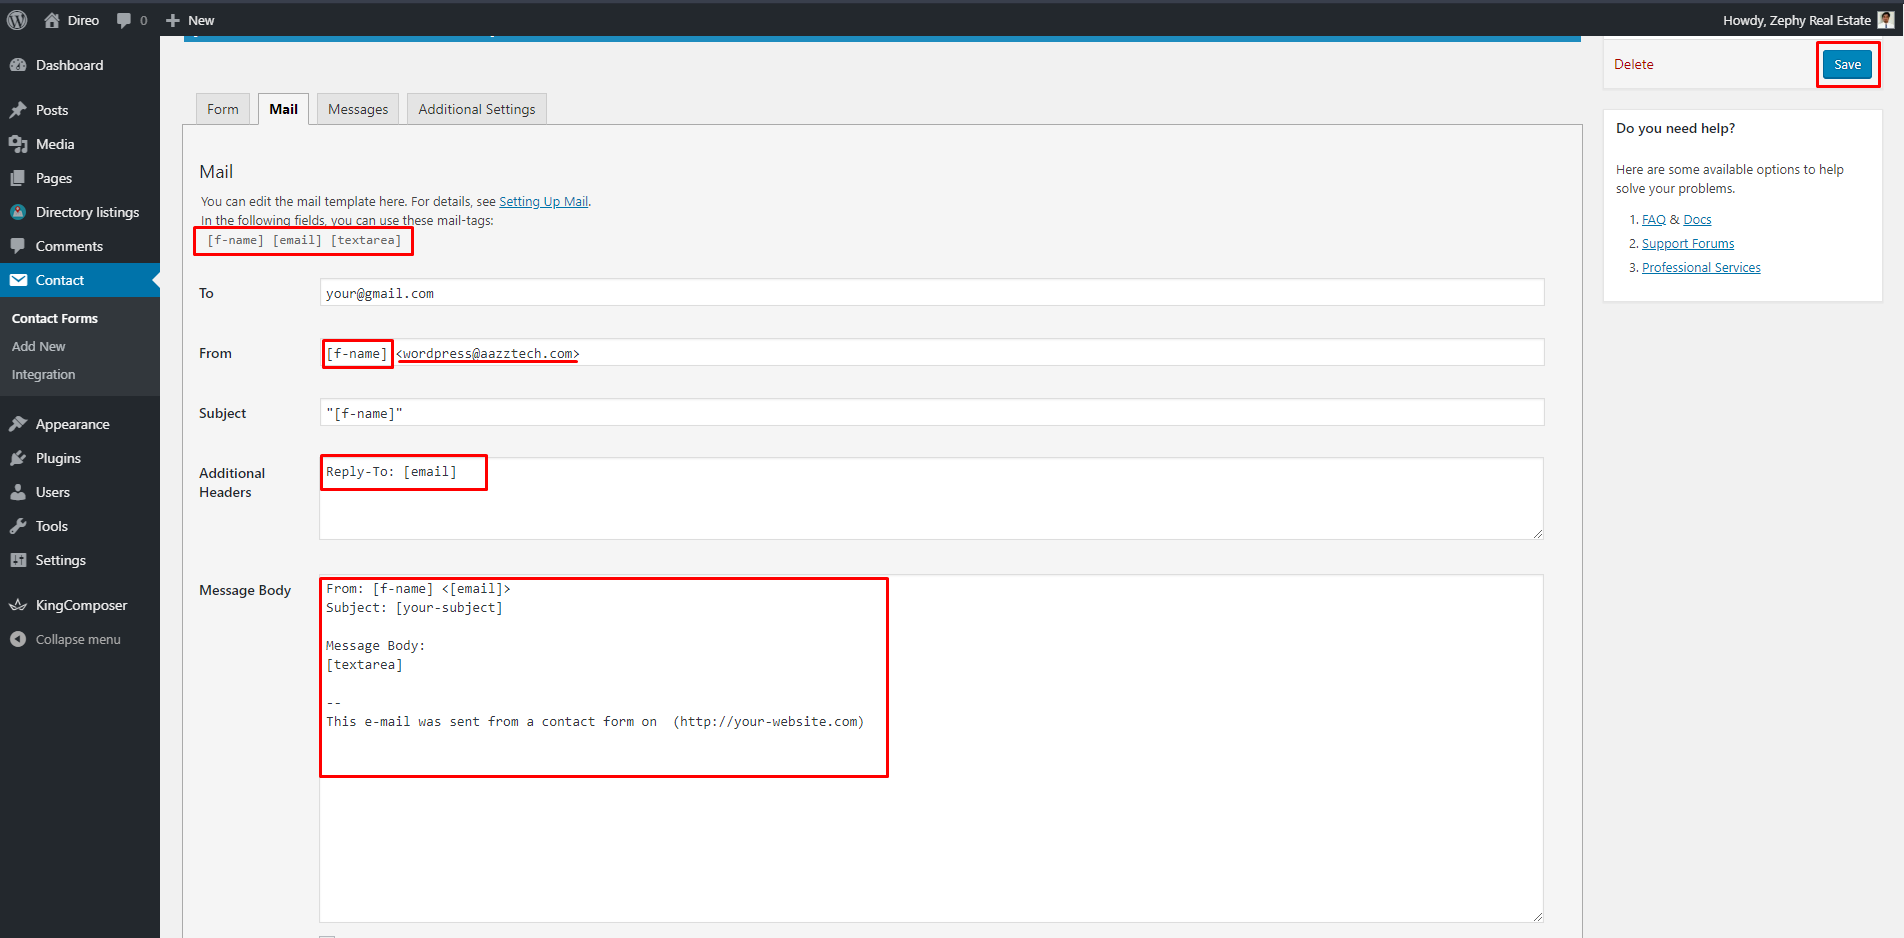
You need to customize the fields according to this image.
Last Updated: June 1st, 2020