Initial Configuration
Configure the claim listing
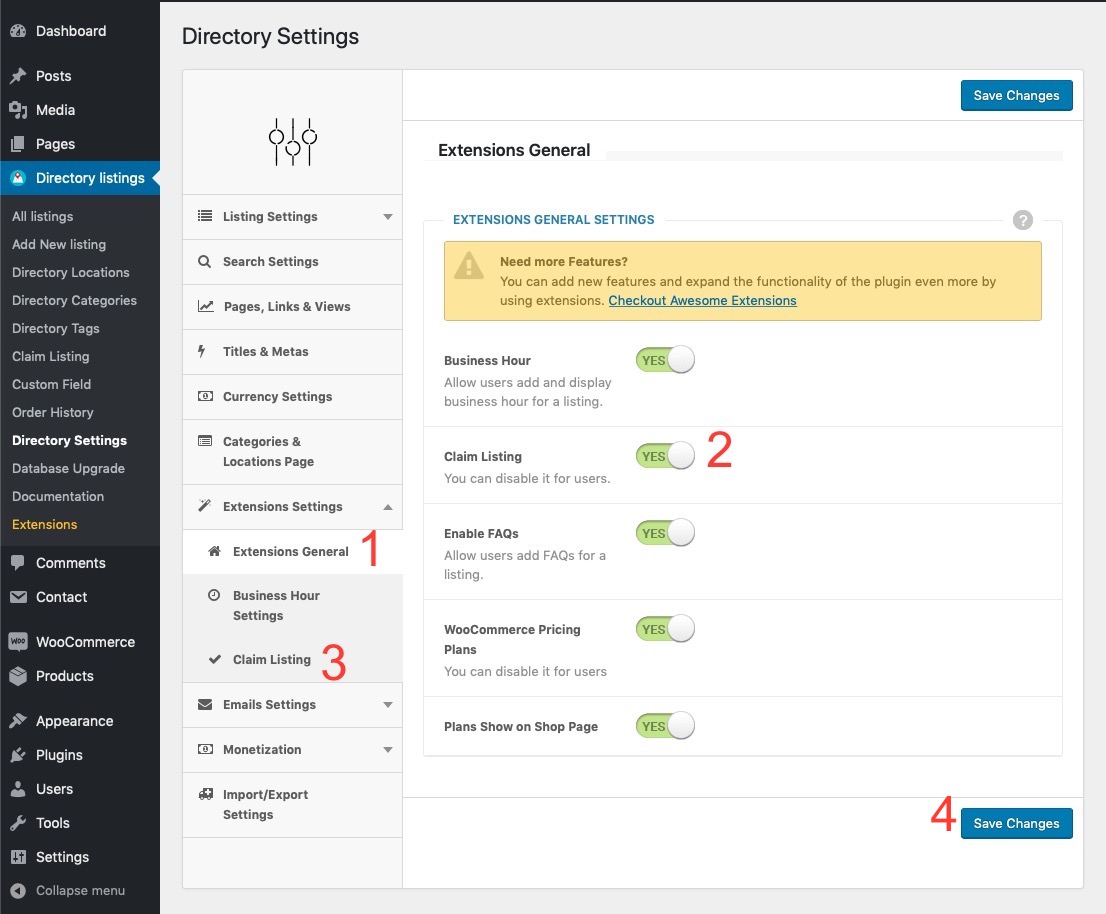
The next thing is to configure the claim listing add-on. Luckily, it is very easy to configure this add-on. Most of the settings have a default value set, so you just need to skim through them quickly and hit the "Save Changes" button. Read through the docs and see the attached screenshot for clear understanding. Setting up Claim Listing's basic options The first thing you need to do after installing the plugin is to make sure some basic settings related to claim listing is properly set. Go to Directory Settings > Extensions Settings > Extension General Make sure the following options are set to 'yes'- Claim Listing option should be set to Yes. It controls the global display of the claim listings on your site. It is the master control of your claim listing controls. If you set this option to 'No', all functionalities of the claim listing add-on will be disabled all over the site. You can enable or disable the claim listing functionality from this one place.
- WooCommerce Pricing Plan ( depends on Directorist WooCommerce Pricing Plan add-on )
- Or Pricing Plan (depends on Directorist Pricing Plan add-on)
 A brief explanation of the above settings.
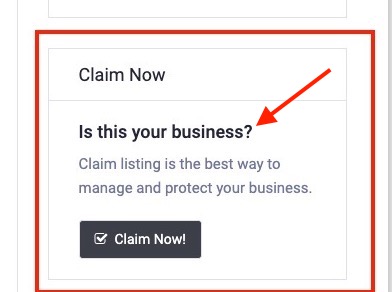
- Claim Widget Title: This controls how the title will appear in the claim listing widget. (See the image below)
- Description: This controls the description of the claim listing widget.
- Method of Charging: This is probably the most important control of claim listing. This control lets you set the global method of charging a claimer of a listing. What it means is that, you can also set the method of charging a claimer on each listing edit screen and if you do not set the method of charging for a claim on each listing, then this setting will be used, this is why it is called global charging method of a claim.
- Claim Now Button: Customize the text of the claim button using this option.
- Display Claim Now Button on Listing Details: Admin can show Claim Now button in single listing by using this option.(Default is Disable)
- Display Claimed Badge: If you set this option to 'Yes' then a badge will be displayed beside the listing title. It is useful because it distinguishes between claimed/verified listings and unclaimed/unverified listings.(see the image below)
- Verified Text: You can customize the text for the claimed badge using this option. For example: claimed or verified etc. It depends on the "Display Claimed Badge" option. (see the image below)
Last Updated: March 18th, 2025