Extensions
Installation
Pricing Plans
WooCommerce Pricing Plans
Claim Listing
PayPal Payment Gateway
Stripe Payment Gateway
Business Hours
Listings Slider & Carousel Listing
FAQs
Image Gallery
Google ReCAPTCHA
Social Login
Directorist Booking
Directorist Live Chat
Compare Listing
Directorist Coupon
Oxygen Builder
BuddyBoss Integration
BuddyPress Integration
Directorist - GamiPress Integration
Directorist WPML – Translation Guide
Directorist Job Manager
Directorist Marketplace
Directorist Ads Manager
Directorist Multi Directory Linking
Authorize.net Payment Gateway
Directorist Helpgent Integration
Directorist Mailchimp Integration
Universal Search
Advanced Review
The Directorist Ads Manager allows you to insert advertisements on specific Directorist pages such as All listings, Single Listings, All Location, All Category, etc. There are different types of advertisement methods available like Google AdSense, Facebook Ads, Static Image Ads, and custom HTML/JS. Directorist Ads Manager helps directory owners to earn more revenue.
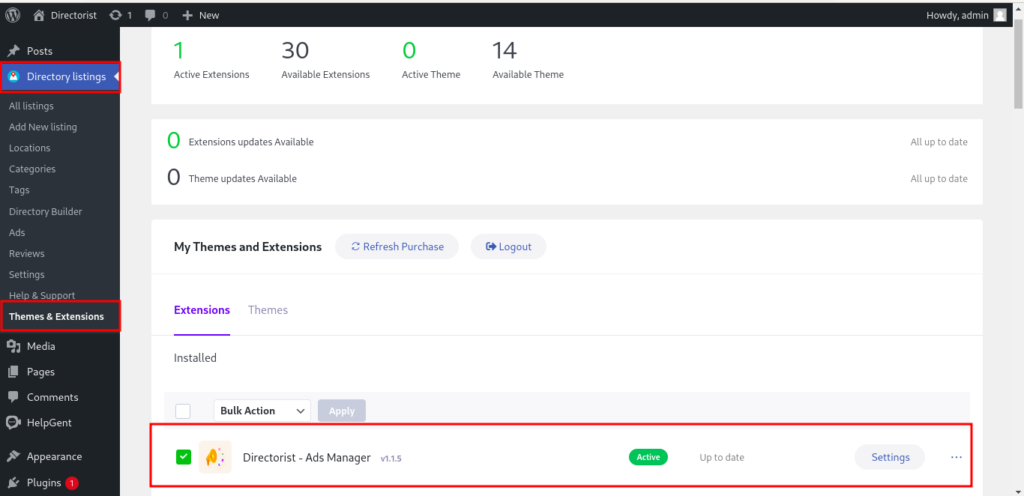
Step 1: Install and Active the extension
Navigate to Directory listings > Themes & Extension. Now install the Directorist- Ads Manager and activate the plugin.
Step 2: Create Your First Ads
After successful installation, you will get a new Ads option under the directory menu. Navigate to Directory listings > Ads and click the Add New Ad button to create an advertisement.

After clicking the Add New Add button you'll get this page.
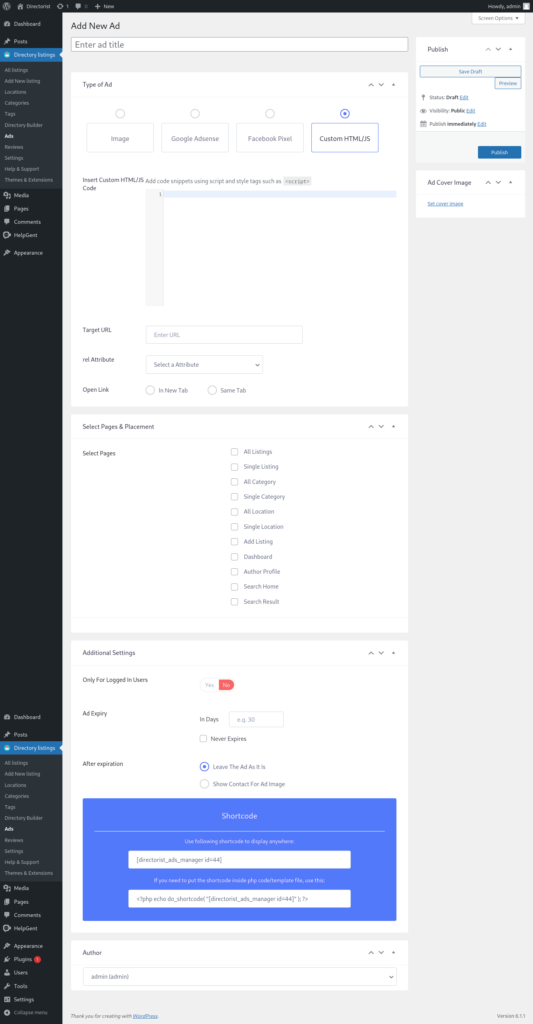
Step 2.1 - Enter a title for the ads

Step 2.2 - Select an Ad type
There are four different methods available to create an Ad. Select your preferred method to create the Ad. If you select the Image option then you will a form like this. Now upload an Ad image and fill up the form values accordingly.

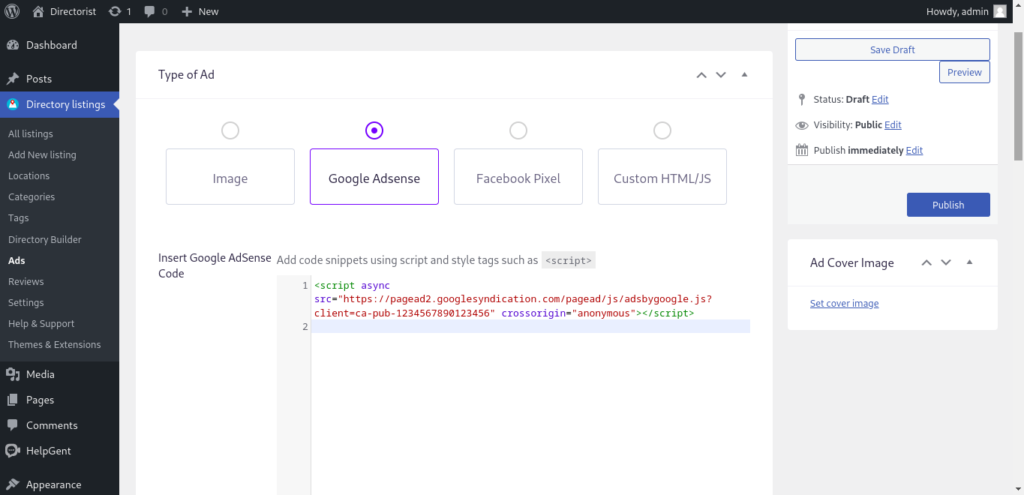
If you select your Ad type as Google Adsense then paste your AdSense code below. And there is also the same procedure for the Facebook Pixel and Custom HTML/JS Ad type.
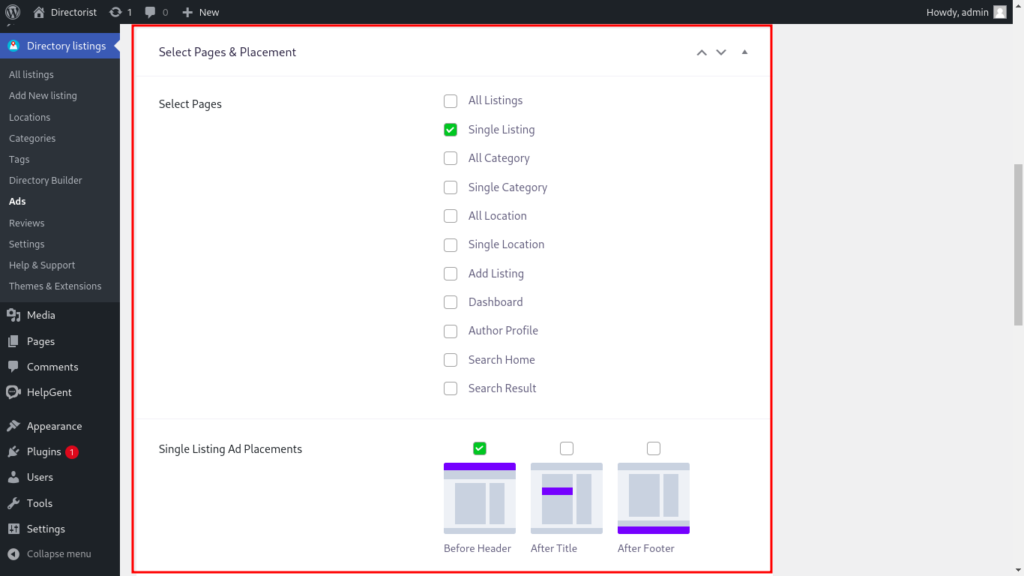
Step 2.3 - Select Pages & Placement
Now select the pages you want to show the Ad and chose the Ad placement accordingly.
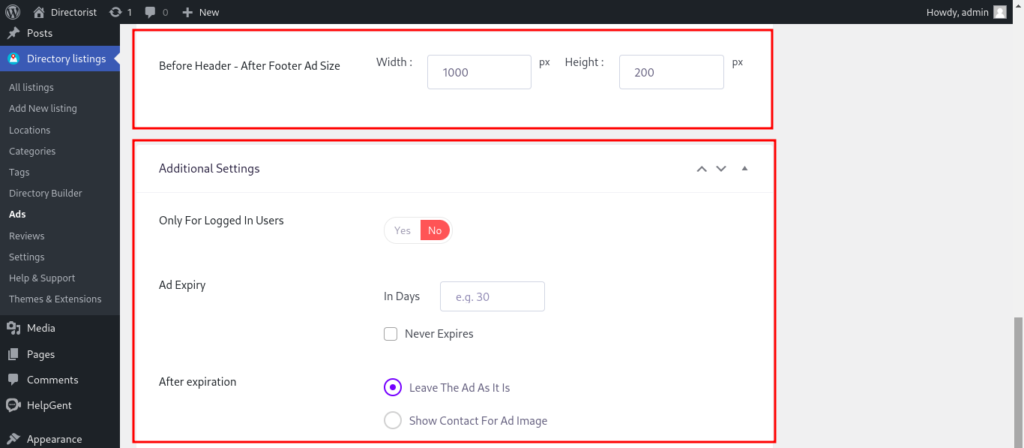
2.4 - Additional Settings
You can set the Ad width & height for the Ad. Define the expiry date for the Ad and some additional options available here.
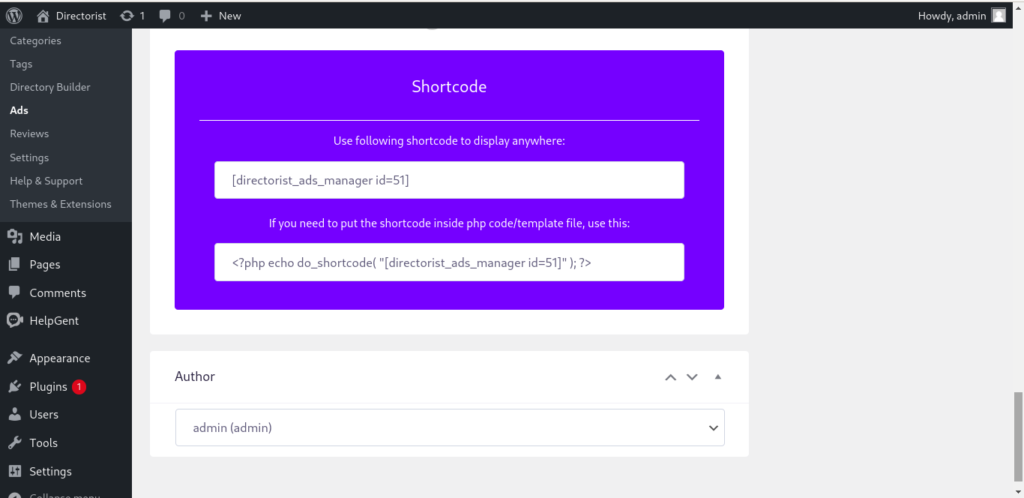
2.5 - Use Shortcode to display Ad anywhere
Shortcodes will be generated for each Ad. You can use this shortcode inside a page or PHP code and display the anywhere you want.
Last Updated: January 4th, 2023