With Directorist, you can create any kind of business directory website. This tutorial will help you create a directory website from scratch. For simplicity and preciseness, we will only be using the free version.
Requirements
Directorist is a plugin for the WordPress platform, therefore, we assume you already have WordPress installed on your system. You may contact your hosting provider for assistance in regards to WordPress installation and ensure to meet the requirements below:
| WordPress | 5.0+ |
| Web Server | WordPress recommends Apache or Nginx as the most robust and featureful server for running WordPress, but any server that supports PHP and MySQL will do. |
| Database | MySQL version 5.6+ or MariaDB version 10.1+ |
| RAM | 256MB+ |
| PHP | Version 7.3 or greater |
| HTTPS Support | Yes (HTTP also supported) |
Setting up a Basic Directory Website with Directorist for Free
To set up a basic directory website for free, you will first need to install the free version from WordPress.org. As you already have a WordPress website up and running, follow these steps:
Step 1: Installing Directorist on Your WordPress Website
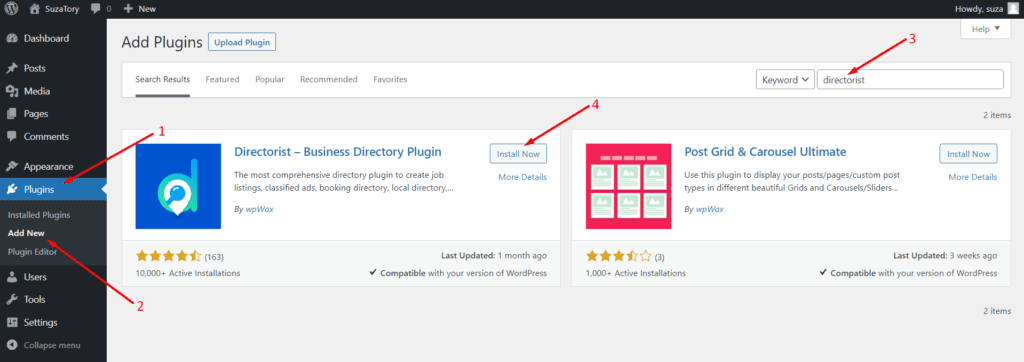
Navigate to the WP Admin Dashboard > Plugins > Add New. Search for the keyword 'directorist'. Then click on the "Install Now" button as shown below:
(For alternative methods of installation, visit this page.)
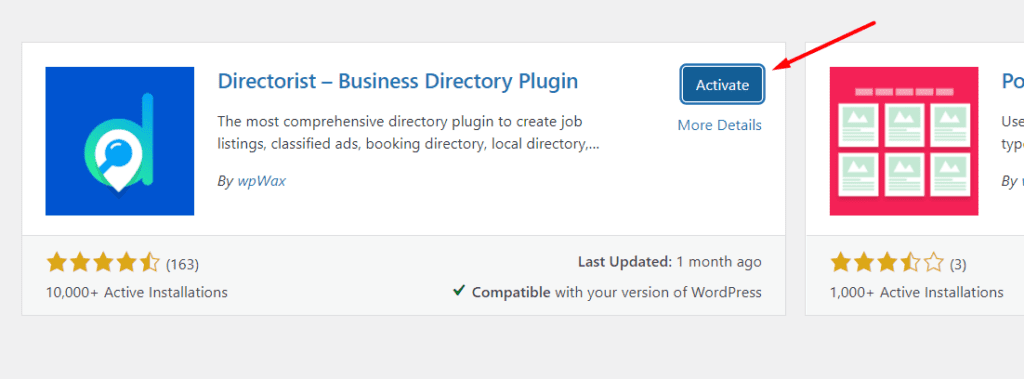
Then click on the 'Activate' button:
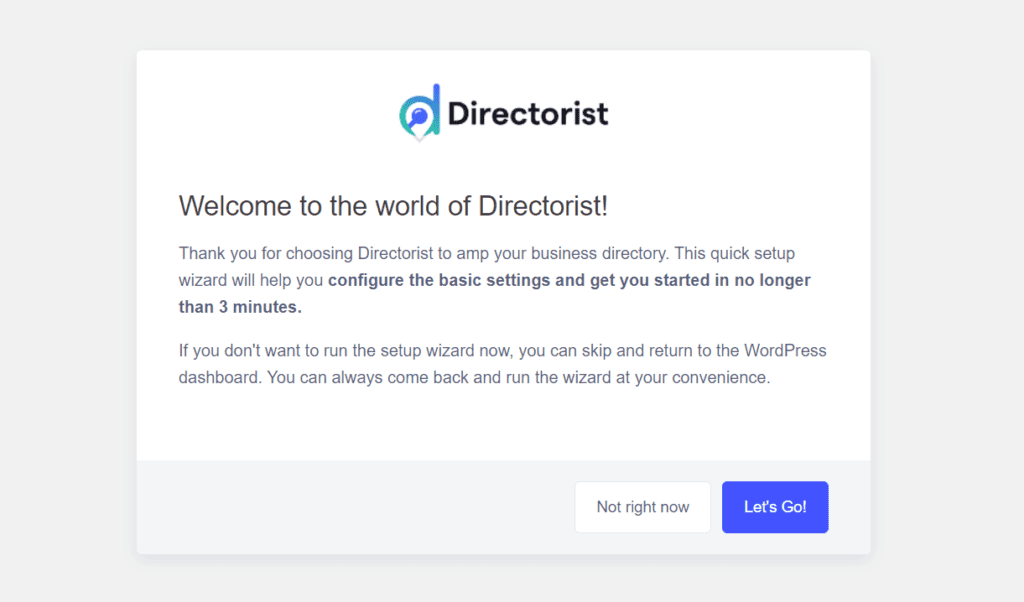
Now you should see a "Setup Wizard". Hit the "Let's Go" button:
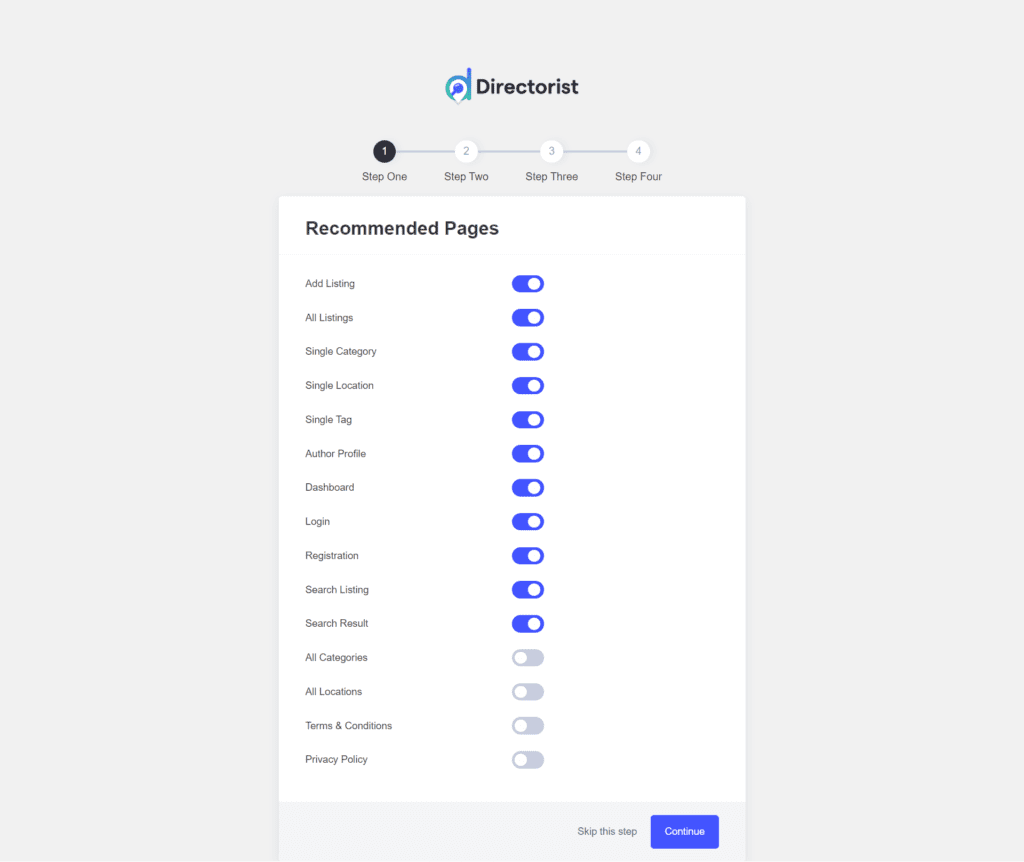
These are the important pages for your directory website. Hit the 'Continue' button to show them:
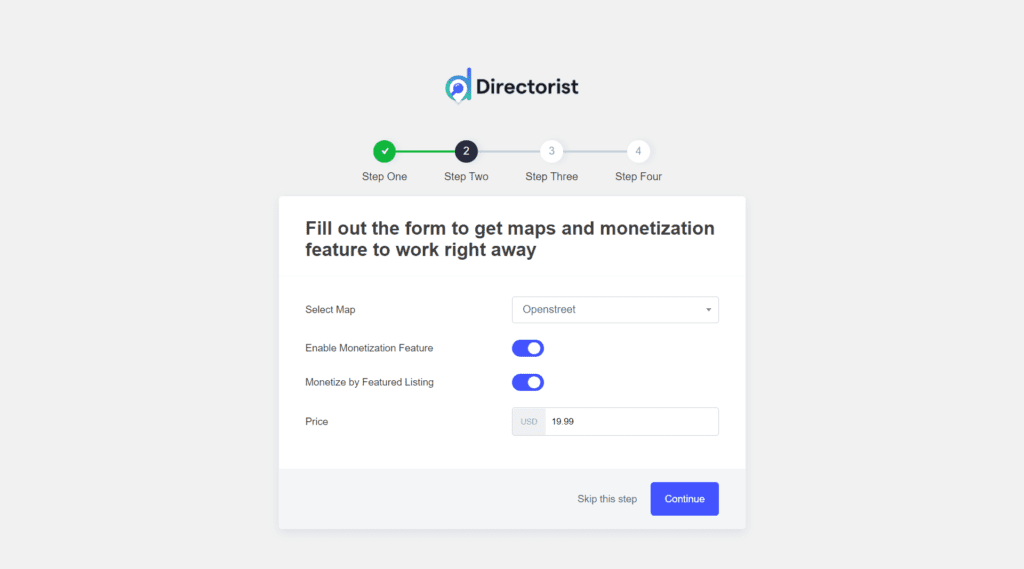
After that, you will have to select the source of the map view for the listings. Currently, there are two sources available. One is the "Google Map" and the other is the "Openstreet Map" view:
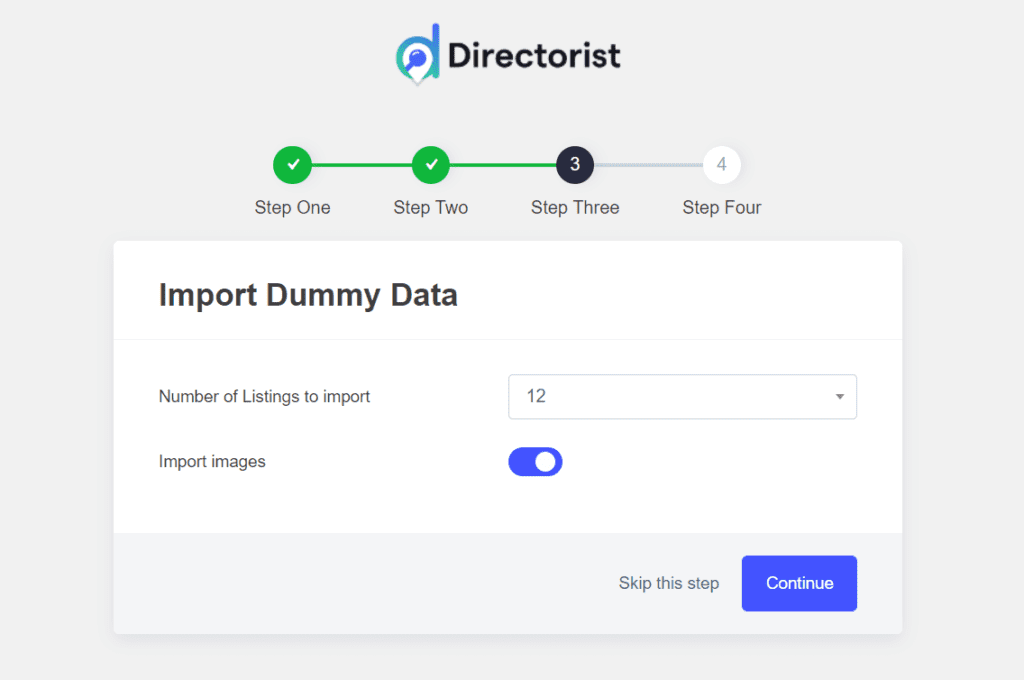
Now, you can import some dummy data and images. Though it's not a necessity, we recommend you import dummy data and later you can delete them.
Finally, you can either go to the WordPress dashboard or Directory dashboard or create a listing all by yourself. For now, select the "Create Your First Listing" button.
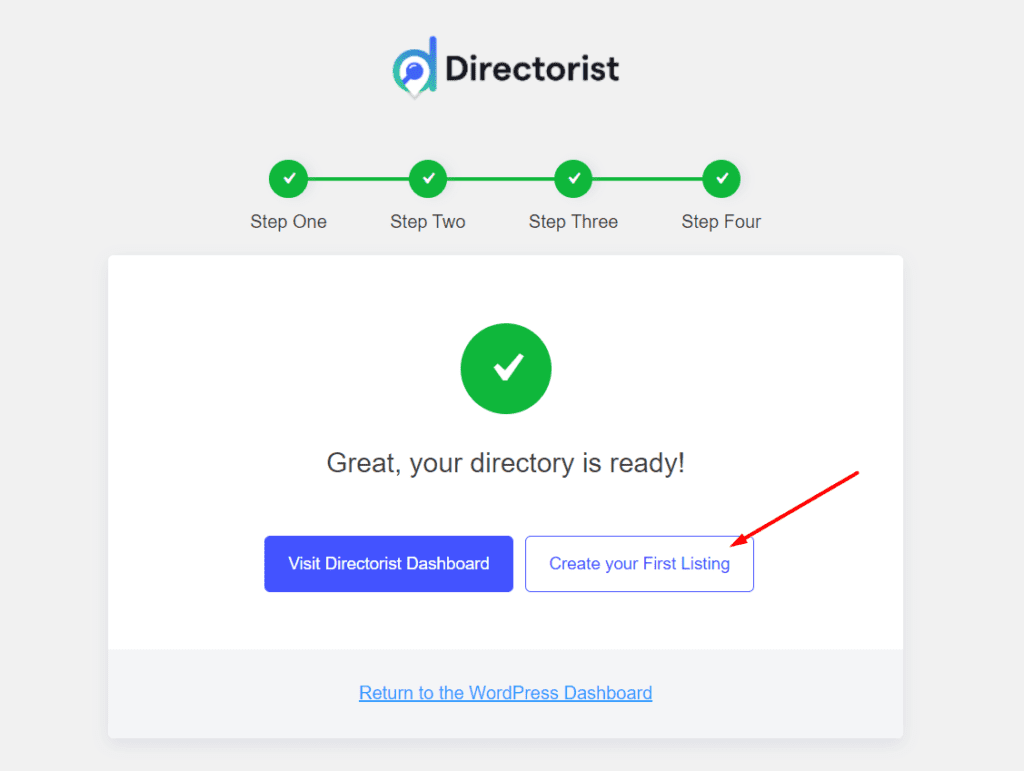
Now, you will be taken to the "Add Listing Page" option to create your first listing.
Step 2: Create Your First Listing
However, if you returned to the WordPress Dashboard, navigate to the Directorist Listings > Add New Listing > Input Listing Data > Publish.
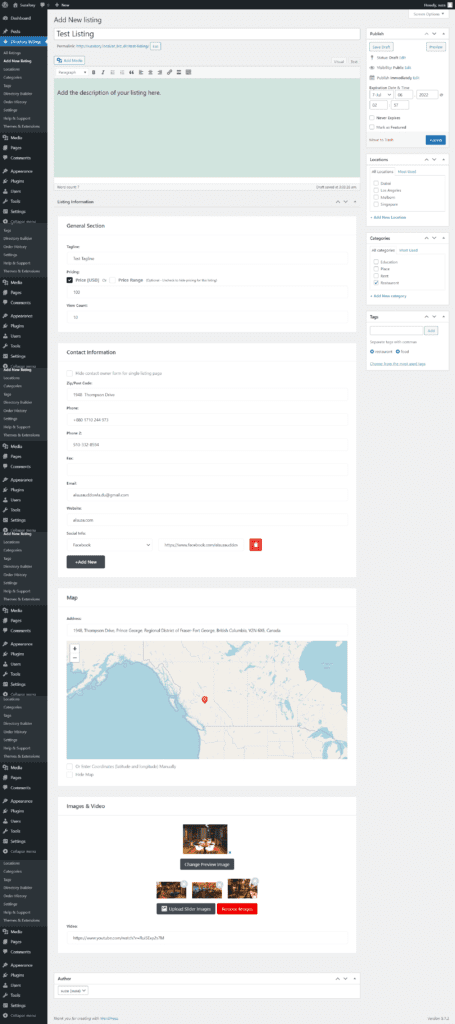
Please note that as an admin, you are creating this listing manually but later the users or visitors will be able to sign up and submit their listing from the frontend.
Step 3: Adding Pages to the Menu
Navigate to the WordPress Admin Dashboard > Appearance > Menu > Create Menu > Save Menu.
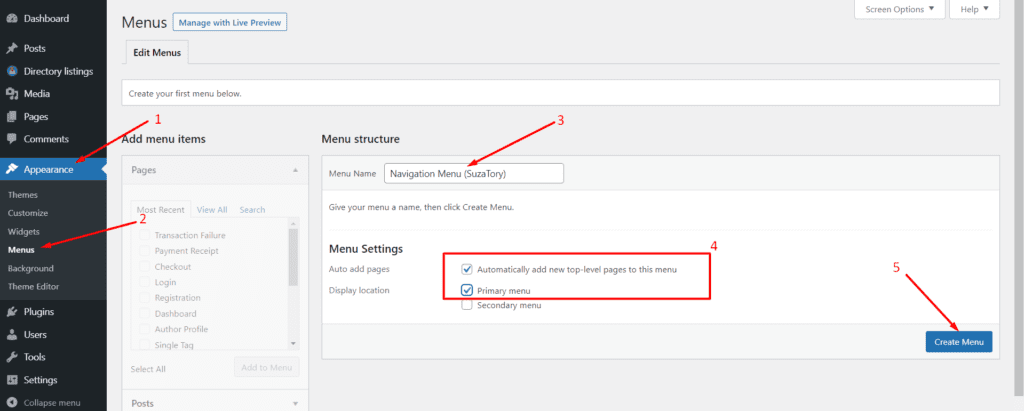
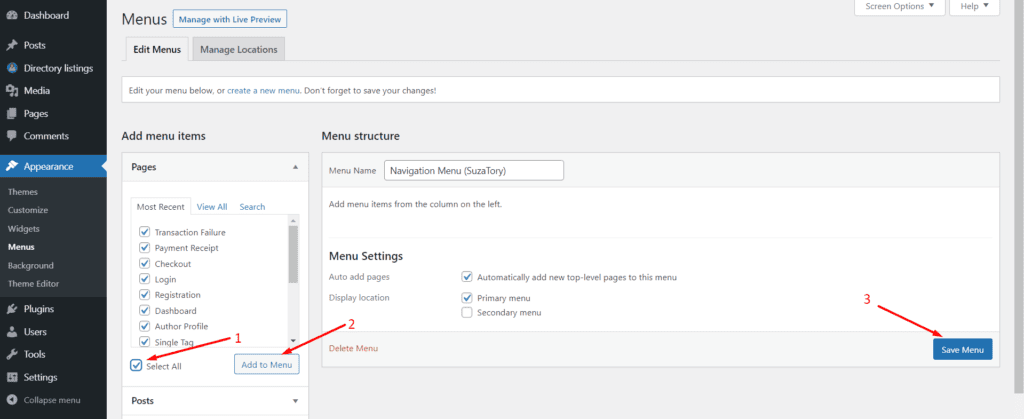
Now, you need to add the pages you created when configuring the "Setup Wizard". To add select the "Select all" button then hit the "Add to Menu" button. Finally, click on the "Save Menu" button and you are done with adding the pages.
Step 4: Approve Listing Immediately or Later
You can empower your users by approving the submitted listing immediately by turning on the toggle bar. Go to Directory Listings > Settings > Listings > Review > Turn on the "Approve Immediately" toggle bar. Usually, this toggle stays turn on by default.
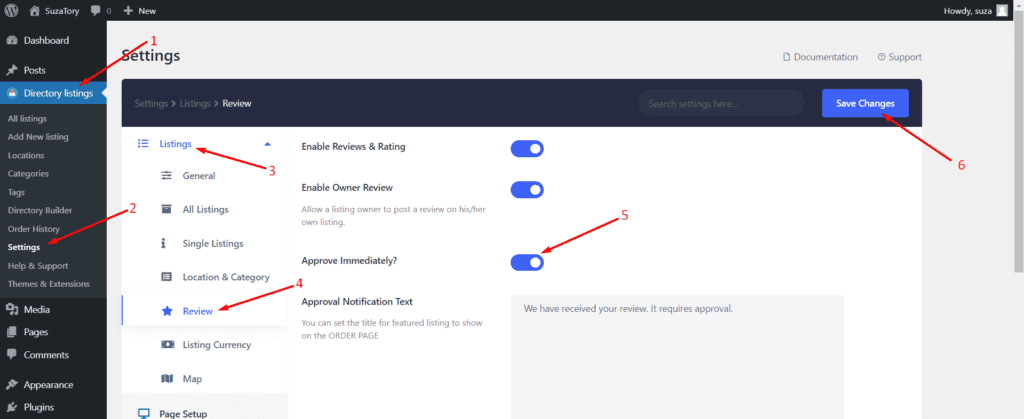
If you, however, turn it off, your users can't publish a listing right after listing submission. Thus, you will have to publish it manually from the admin panel.
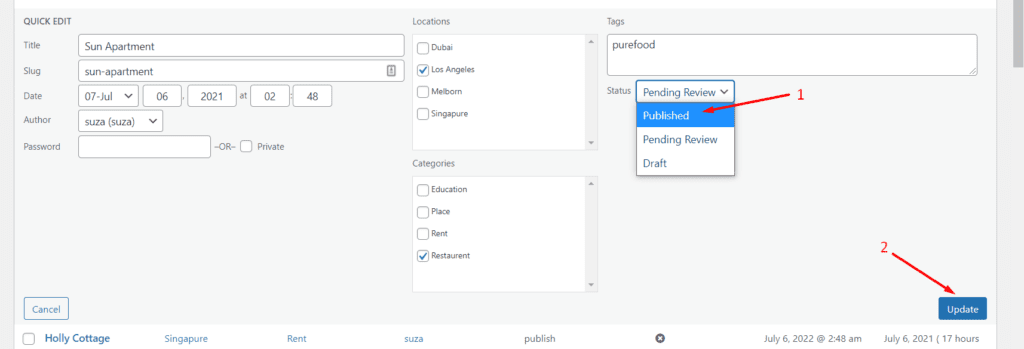
Step 5: Approving or Publishing a Listing Manually
Navigate to the WP Admin Dashboard > Directory Listings > All Listings > Hover over a Pending Listing > Quick Edit.
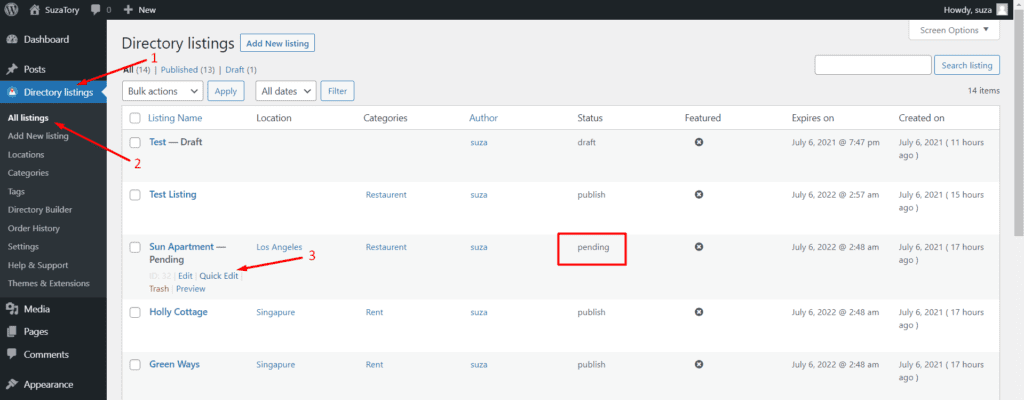
Now, select the 'Published' option. Now hit the 'Update' button.
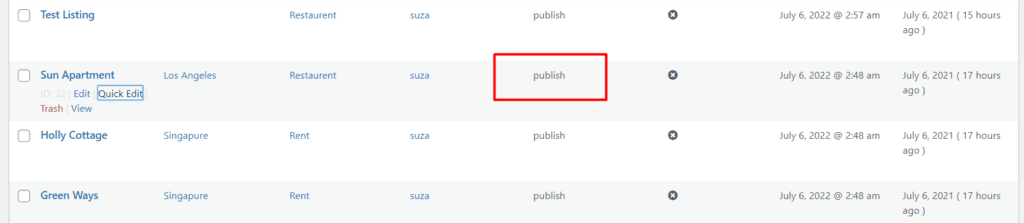
Here is the 'Publish' status:
Viewing from the Frontend
Now that you have set up everything for your WordPress directory website with Directorist, let's view it from the frontend.
To see the website from the frontend, navigate to the WordPress Admin Dashboard > Visit Your Site.
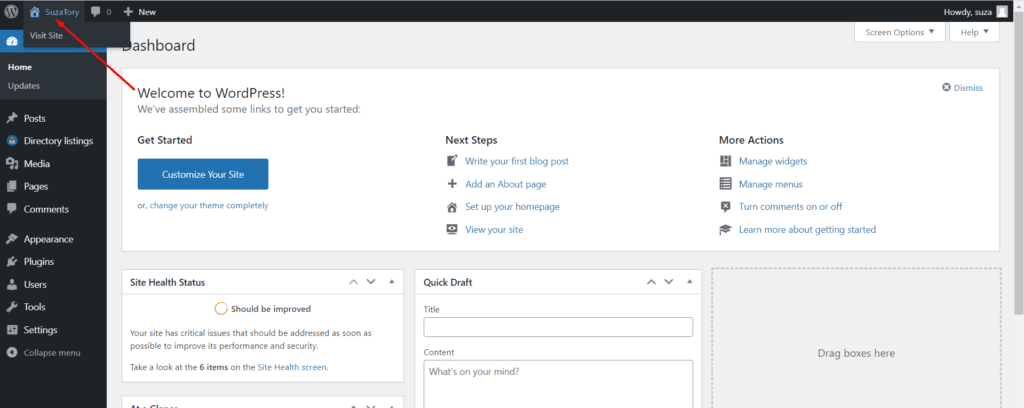
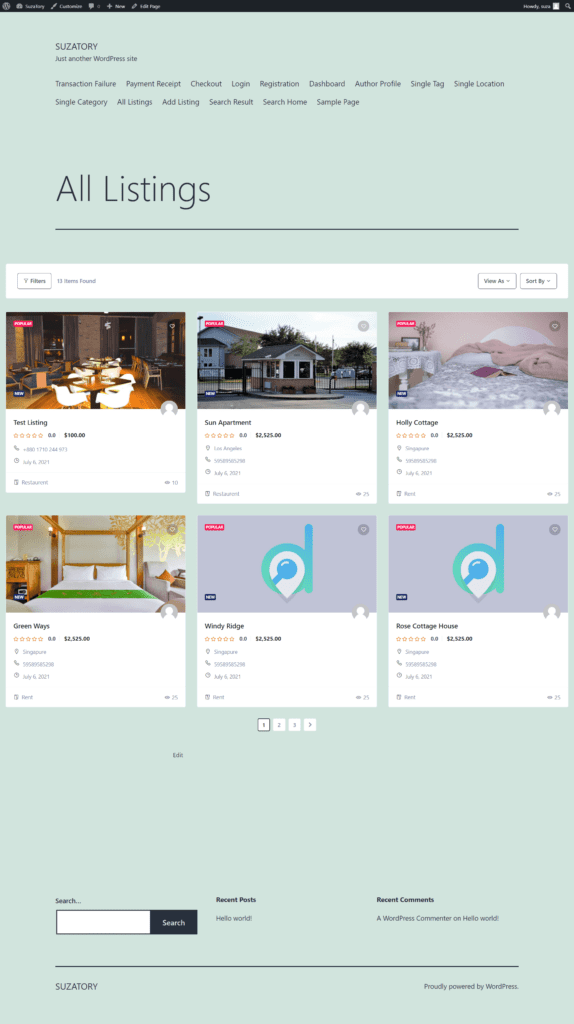
Now you should see this blank home page. Now, from the navigation bar select the "All Listings Page".
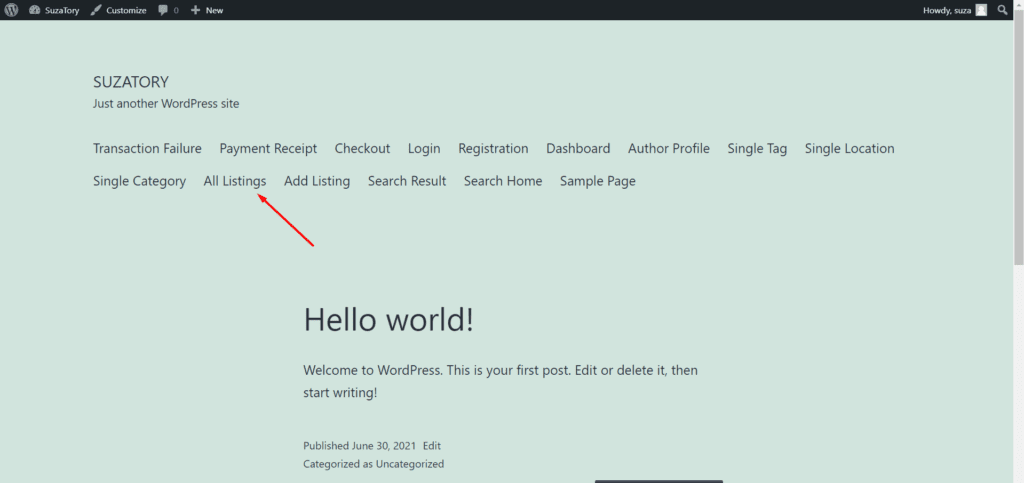
Now, you should be able to see your listings:
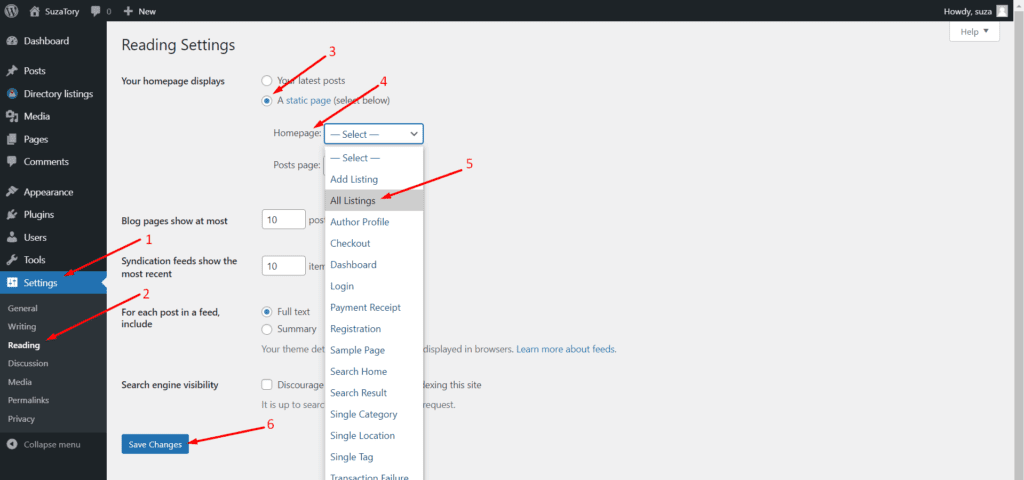
Finally, if you want to show all listings page on your homepage instead of a blank homepage go to the WP Admin dashboard > Settings > Reading > Choose "A static page (Select below) > Homepage > All Listings > Save changes.
And this is how you can set up a basic directory website with Directorist.
Last Updated: March 20th, 2024