
The Google Calendar integration helps you automatically sync your Service and Rent bookings with your Google Calendar. It also checks for conflicts in your other calendars to prevent double bookings.
Step 1: Create Google API Credentials #
- Go to Google Cloud Console and sign in with the same Google account you use for bookings.
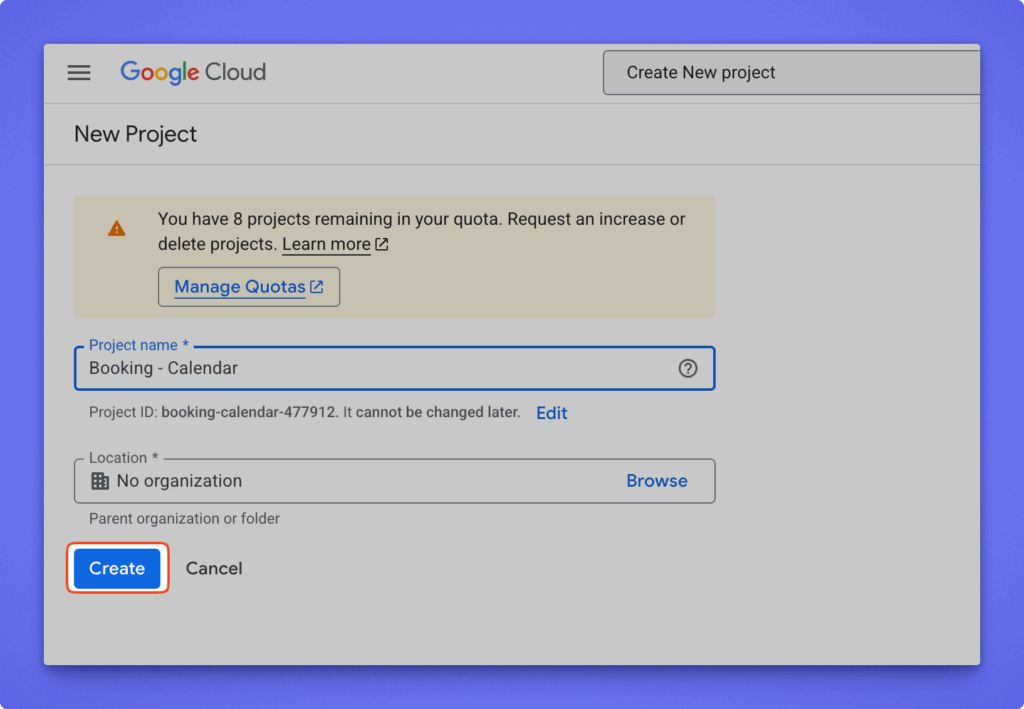
- Create or select a project.
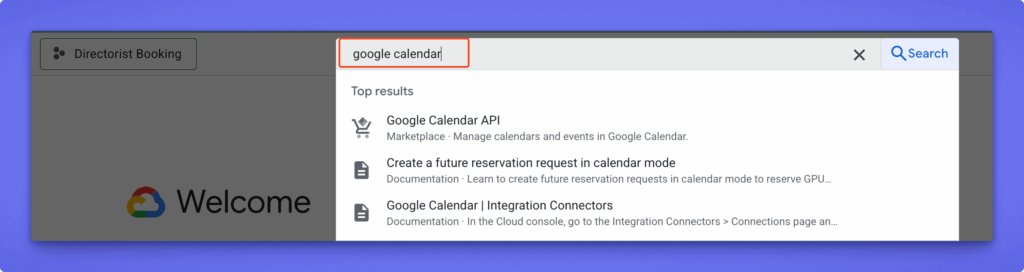
- Enable the Google Calendar API:
- Navigate to APIs & Services → Enabled APIs & Services → + ENABLE APIS AND SERVICES
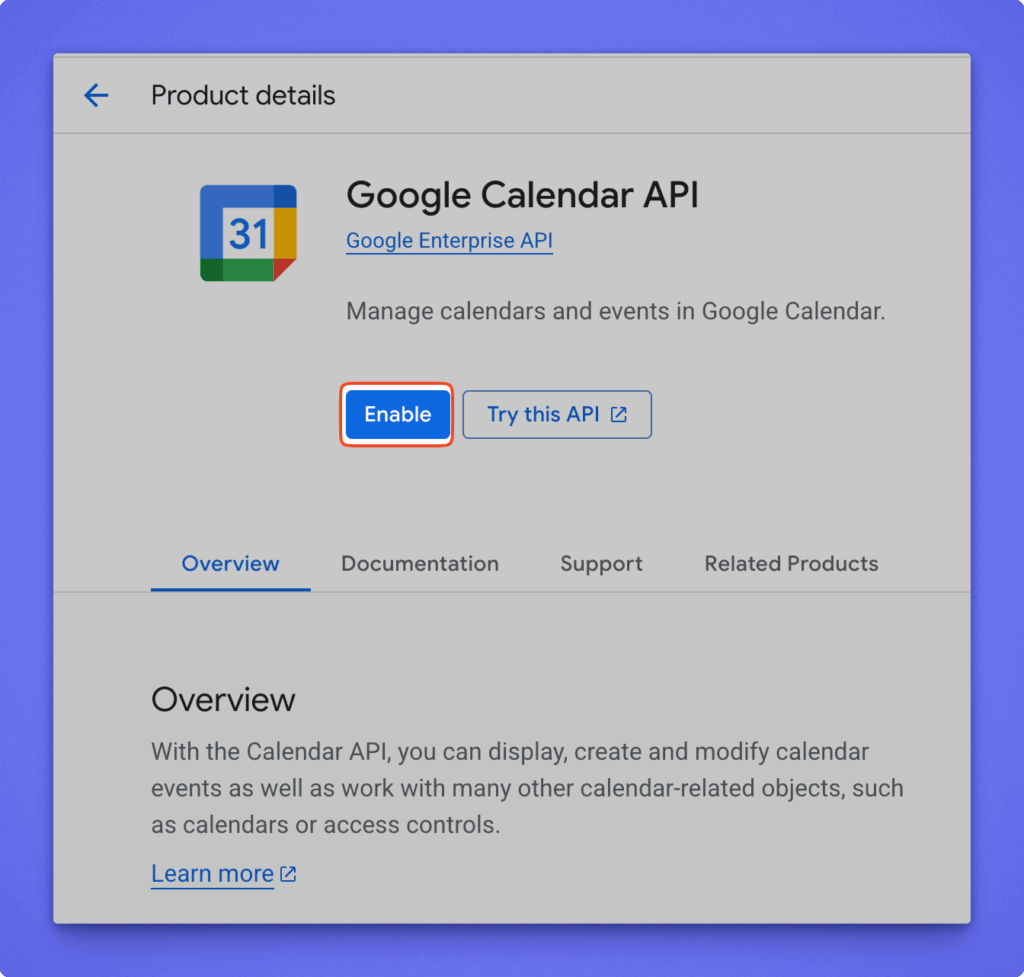
- Search for “Google Calendar API” and enable it.
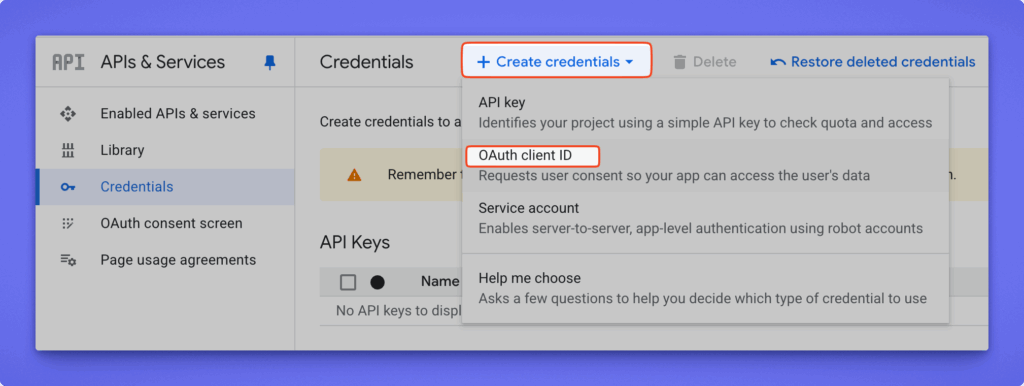
- Create an OAuth client ID:
- Go to APIs & Services → Credentials → + CREATE CREDENTIALS → OAuth client ID

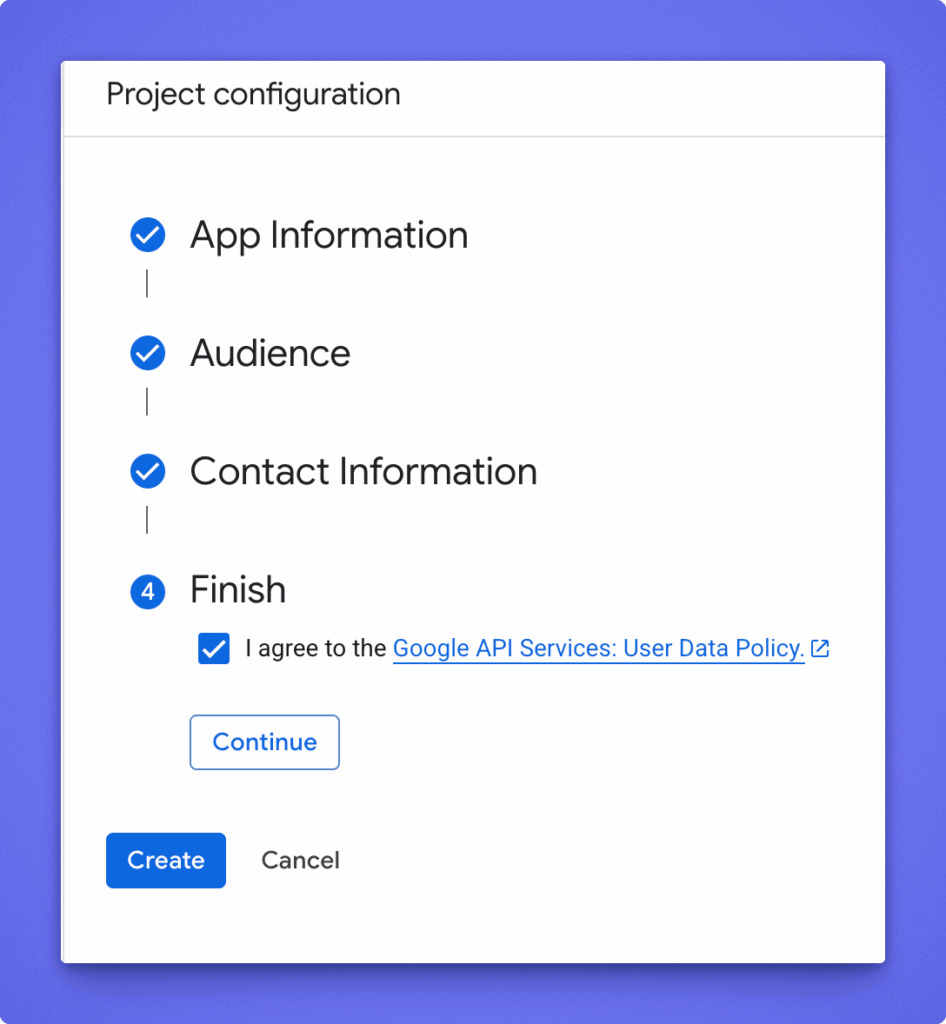
If asked, configure the consent screen first.
- Provide basic App information (App name, email, etc.).
- Set User Type (Audience type) to External.
- Add your contact email and agree to the Google policies.
- Click Create to continue.
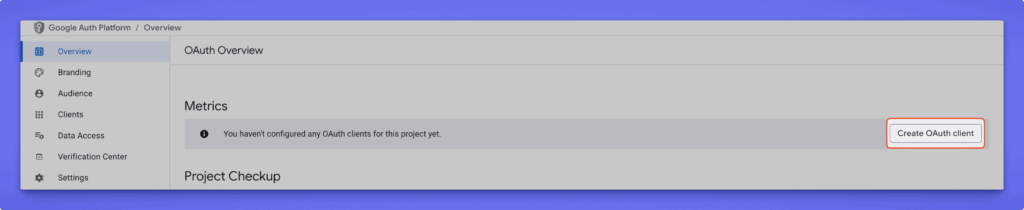
- You will land in Overview section and from here click Create 0Auth Client
- Choose Web application as the application type and provide a Name.
- Add this redirect URI:
https://your-site.com/wp-admin/admin-ajax.php?action=bdb_google_oauth_callbackReplaceyour-site.comwith your actual domain.
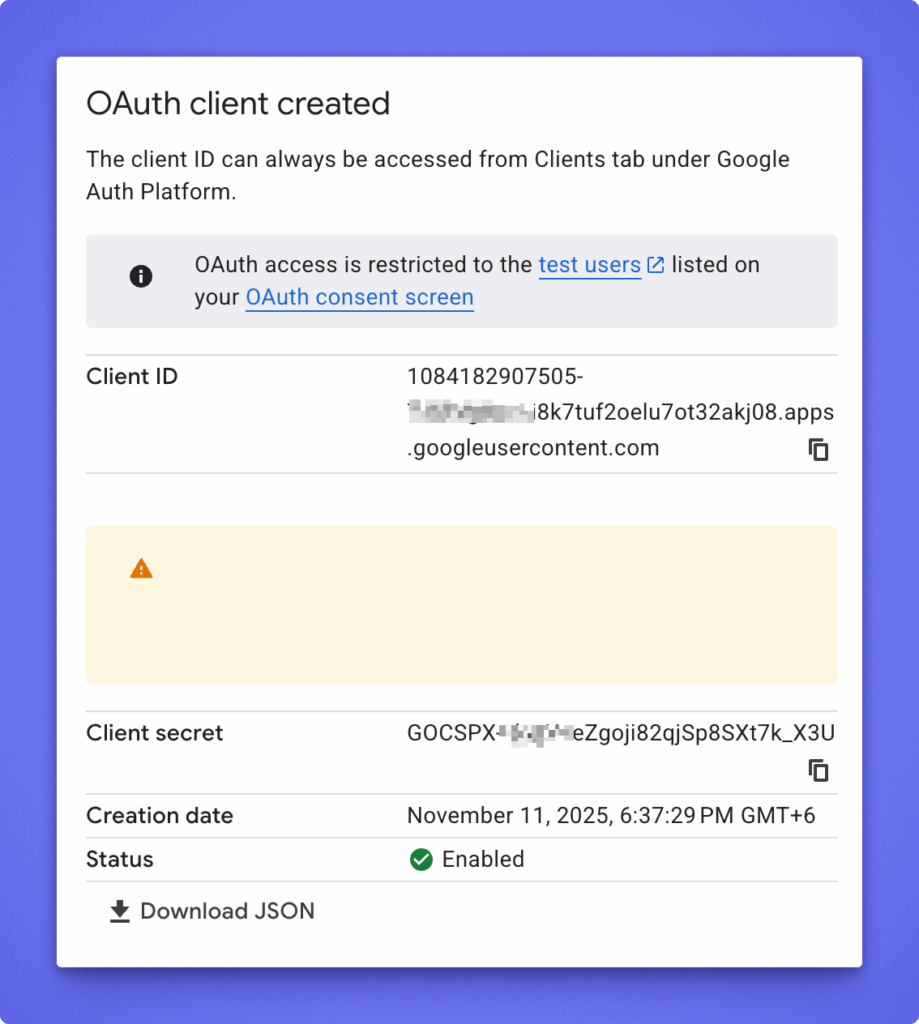
- Copy the generated Client ID and Client Secret. You’ll need them later.
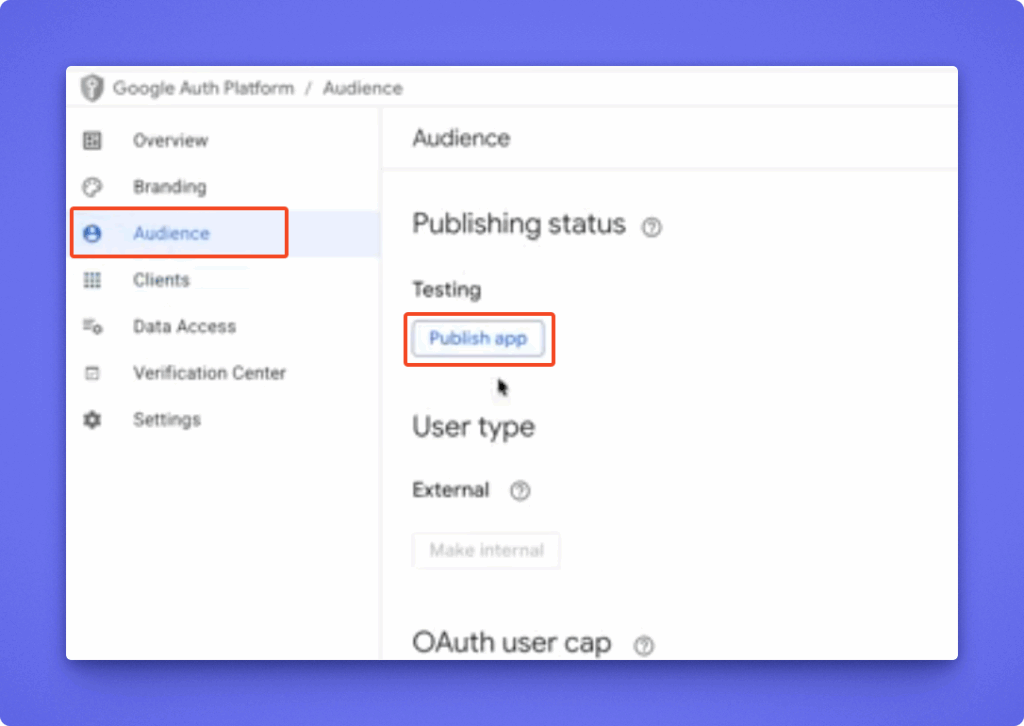
- Now you have to publish the app. Go to Audience and Hit the Publish app button.
Step 2: Connect Google Calendar in Directorist Booking #
- Log in to your WordPress admin dashboard.
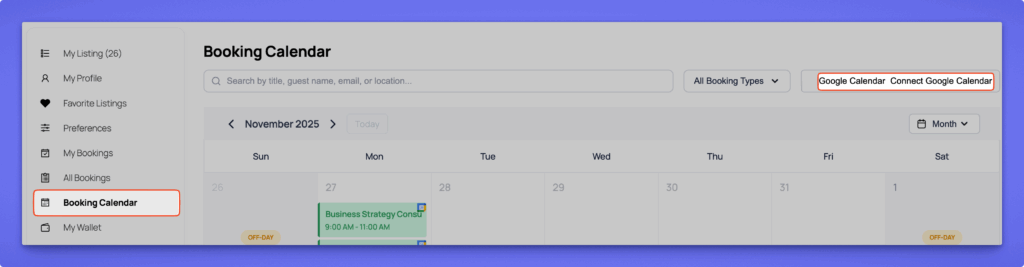
- Open the Booking Dashboard and click Connect Google Calendar (Step 1 modal).
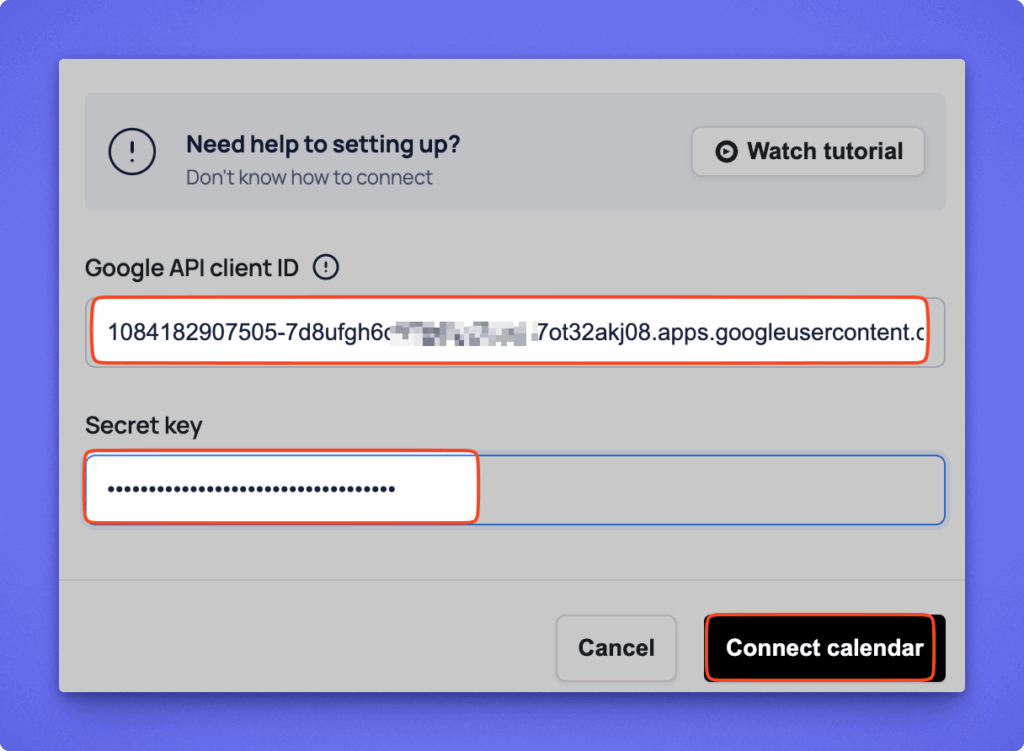
- Enter your Client ID and Client Secret and click Connect Calendar.
- Click Connect, then approve the permissions in the Google pop-up.

- After successful connection, the button changes to Calendar Setup, and click on that
Step 3: Calendar Setup #
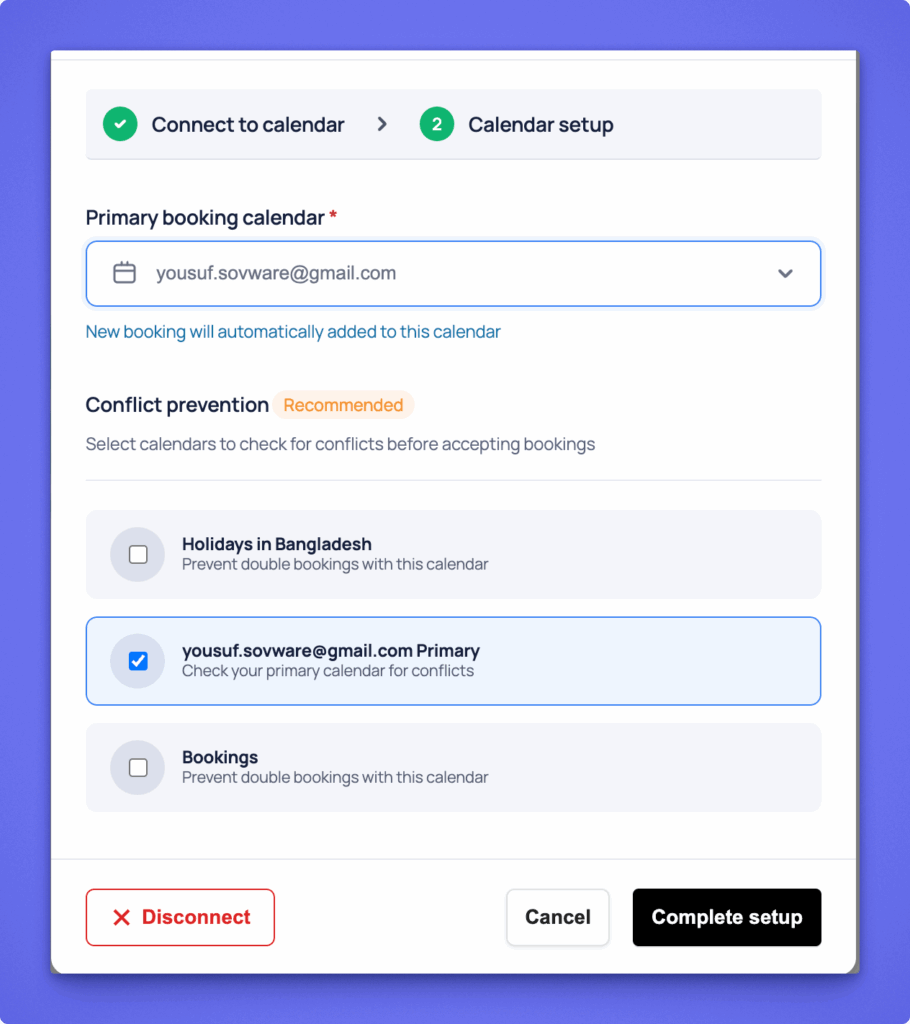
After connecting your Google account, the next step is to configure your calendar preferences.
- Primary Booking Calendar
- Choose the calendar where new bookings will be automatically added.
- Conflict Prevention (Recommended)
- Select calendars that should be checked for schedule conflicts before accepting a booking.
- You can select multiple calendars.
- Once your selections are made, click Complete Setup to save.
You can return to this screen anytime to update or disconnect your Google Calendar by clicking Disconnect at the bottom left.
Once setup is complete, your bookings will automatically appear in Google Calendar, keeping your schedule up-to-date and preventing double bookings.
Step 4: How Syncing Works #
- When a Service or Rent booking is Confirmed:
- Directorist refreshes your Google tokens if needed.
- It checks selected calendars for time conflicts.
- If no conflict is found, it creates the event in your Primary Calendar with guest details.
- When the booking is Cancelled, the corresponding Google Calendar event is automatically removed.
- To remove all Google data and tokens, click Disconnect Google Calendar.
Note: Google Calendar sync works only for listings with booking types Service or Rent.
Event-type listings are not synced


