

Guest Listing Submission lets a visitor submit a listing without creating an account first. When it is enabled, the Add Listing form shows an extra email field, and Directorist uses that email to create an account for the visitor automatically after they submit the listing.
How It Works #
When Allow guest submissions is enabled, the Add Listing form includes an additional Email field. Here is what happens step by step:
- A visitor fills out the Add Listing form and provides their email address.
- After submission, they see a preview of their listing along with a Continue to Publish button.
- Once they click Continue to Publish, a confirmation message appears, and the listing is sent for admin approval.
- The visitor receives two emails:
- Registration confirmation email – confirming their new guest account.
- Listing submission confirmation email – confirming their listing was received.
- After the admin approves and publishes the listing, it becomes visible on the website.
A guest account is created automatically with the provided email address. The visitor can log in with that email to manage their listings, update their profile, or change their password from the User Dashboard.
Enabling Guest Submissions #
Path: WP Admin → Directorist Settings → Directory → Submissions
Step 1 – Turn on guest submissions #
- Open the Directorist Settings panel and select Directory from the sidebar.
- Click the Submissions tab.
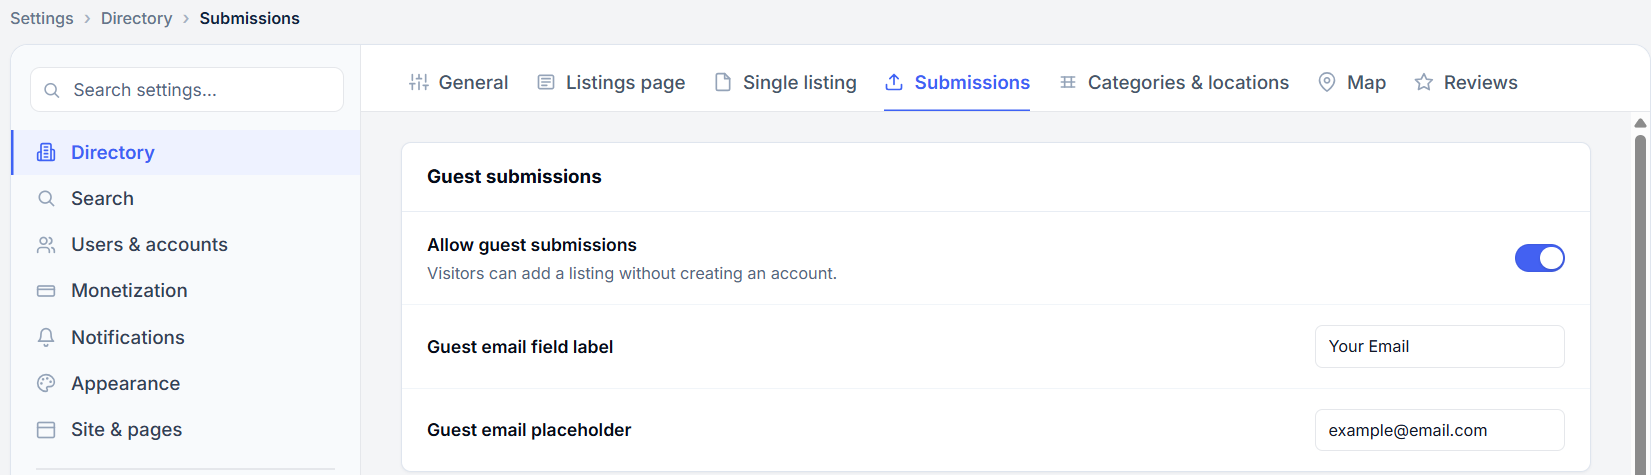
- In the Guest submissions section, turn on the Allow guest submissions toggle.
Step 2 – Customize the guest email field (optional) #
- In Guest email field label, enter the label shown on the form (default: Your Email).
- In Guest email placeholder, enter the placeholder text shown inside the field (default: [email protected]).
- Click Save & Preview.
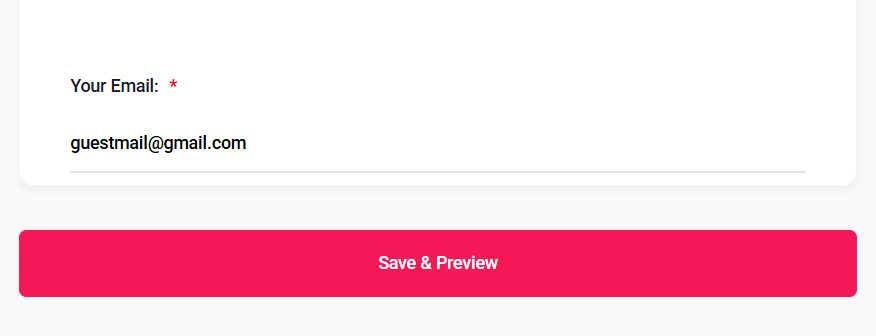
Once saved, the email field appears on the Add Listing page for guest users.
Configuring Confirmation Messages #
You can show a message to listing owners right after they submit, and customize the wording for each listing status.
Step 1 – Turn on the confirmation message #
- On the same Submissions tab, scroll to the Confirmation messages section.
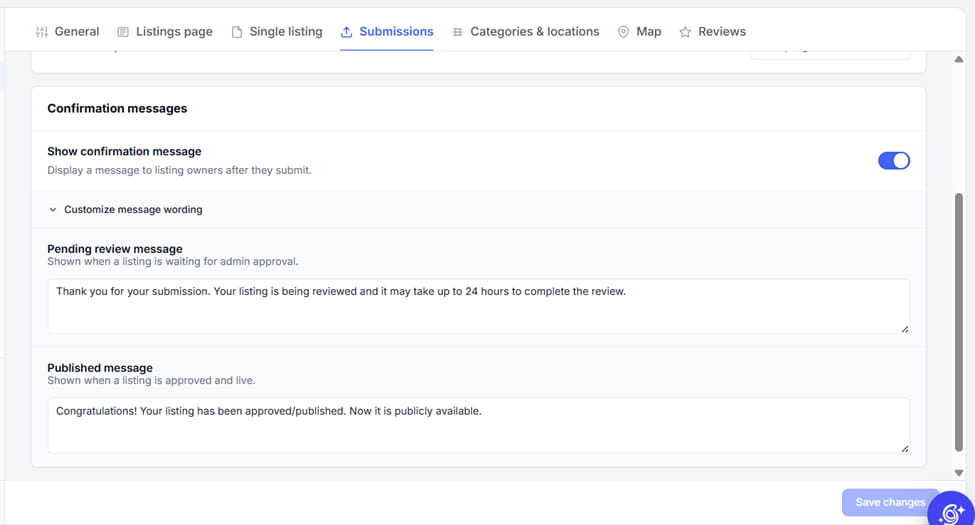
- Turn on the Show confirmation message toggle.
Step 2 – Customize the message wording (optional) #
- Click Customize message wording to expand the options.
- In Pending review message, enter the text shown when a listing is waiting for admin approval (default: Thank you for your submission. Your listing is being reviewed and it may take up to 24 hours to complete the review.).
- In Published message, enter the text shown when a listing is approved and live (default: Congratulations! Your listing has been approved/published. Now it is publicly available.).
- Click Save changes.
Guest User Account #
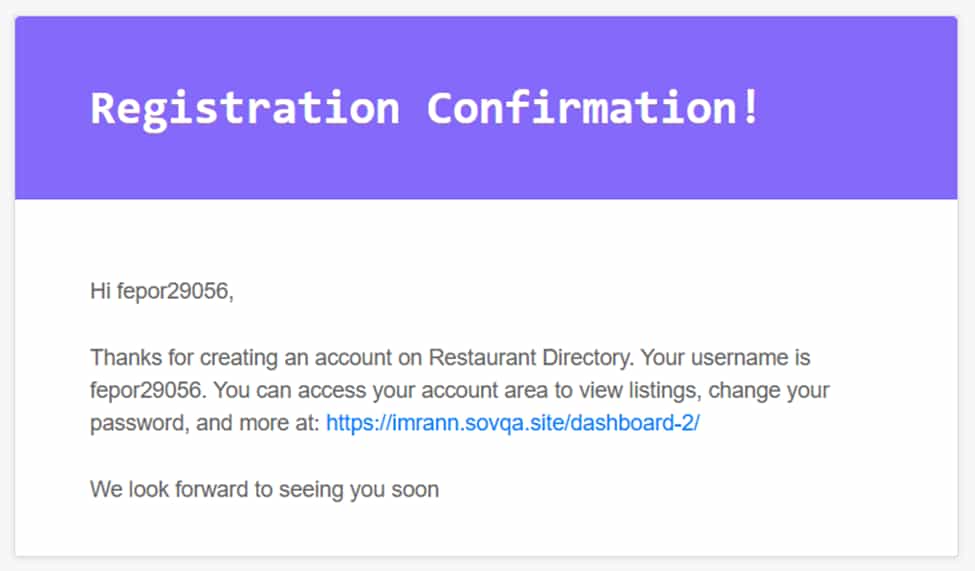
Upon successful submission, a user account is created with the email address provided in the listing form, and a registration confirmation email is sent to that address.
The guest user can now log in and manage their listings and account just like a regular user.


