 Up to 35% Off!

Notifications #
The Notifications section controls every outgoing email that Directorist sends. It has two tabs: Channels and Events & Templates.
Path: WP Admin → Directorist → Settings → Notifications
1. Channels #
The Channels tab is where you configure email sending — the master switch, who emails come from, and what the email header looks like.
Active channels
Enable email notifications is the master switch for all outgoing email from Directorist. This is on by default. Turn it off only if you are managing all notifications through a separate plugin or service and want to prevent Directorist from sending any emails of its own.
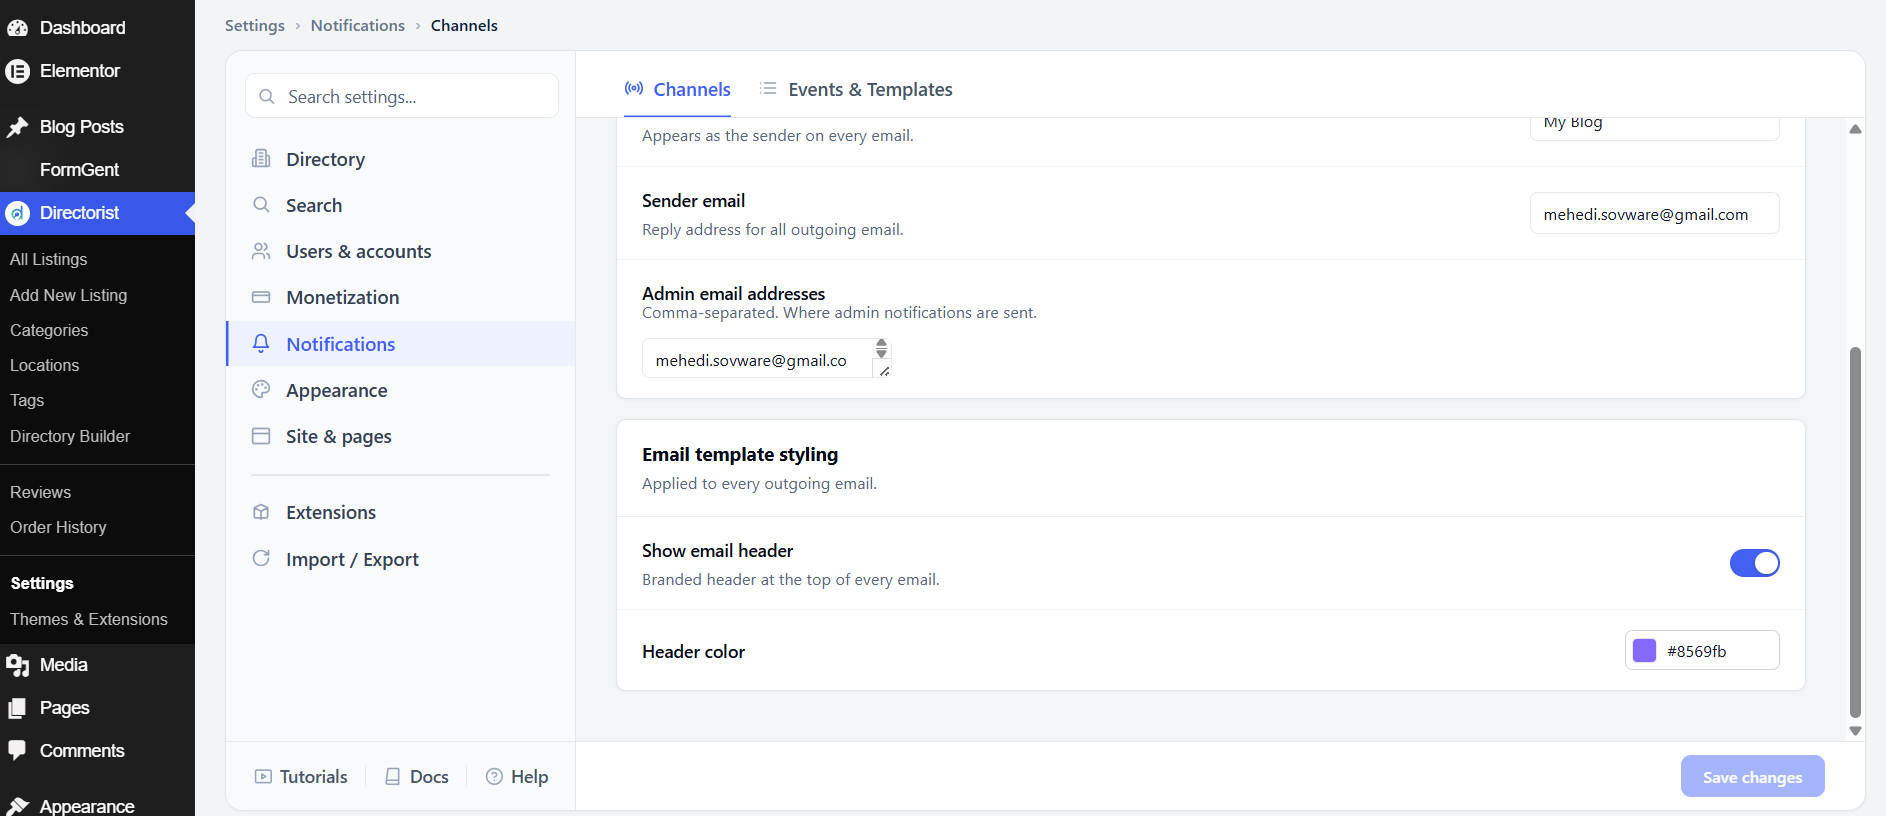
Sender details
Sender name is the name that appears in the “From” field of every email Directorist sends. Set this to your site name or brand name so recipients recognize where the email is coming from.
Sender email is the reply-to address for all outgoing email. Use an address you monitor — if a user replies to a notification, the reply goes here.
Admin email addresses is a comma-separated list of addresses that receive admin-level notifications, such as alerts for new listings or new orders. You can add multiple addresses to notify more than one team member.
Email template styling
Show email header adds a branded header banner at the top of every outgoing email. This is on by default.
Header color sets the background color of that header. The default is #8569fb (purple). Change it to your brand color so emails look consistent with your site.
After adjusting these settings, click Save changes.
2. Events & Templates #
The Events & Templates tab lists every email notification Directorist can send. Each event has an on/off toggle. Click Edit next to any event to customize its subject line and email body.
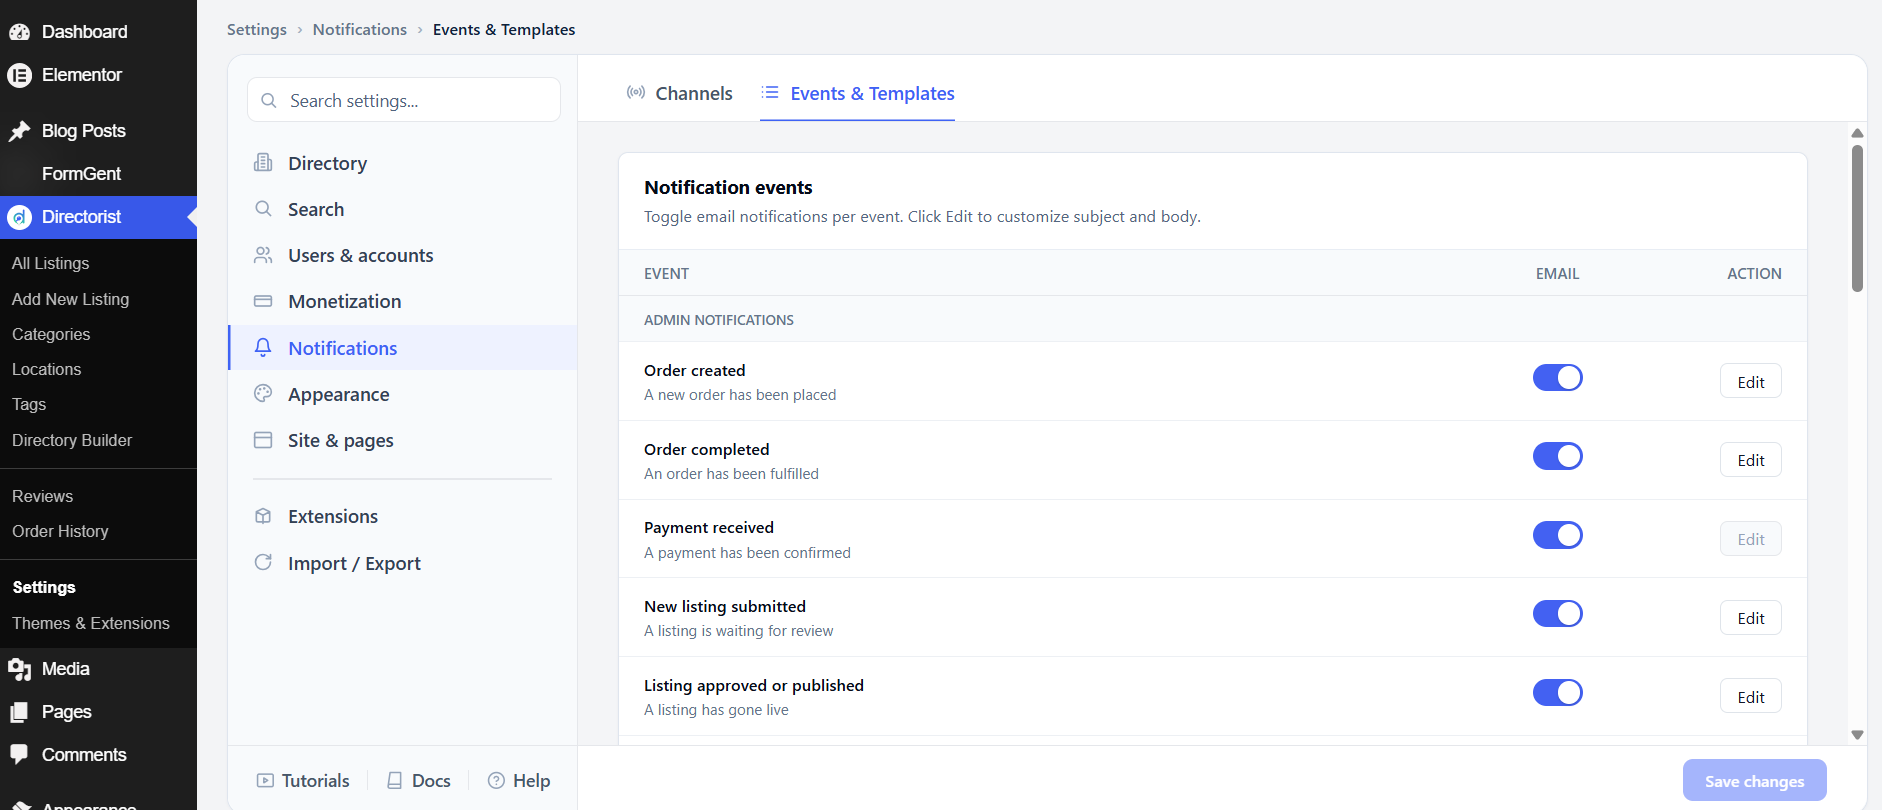
Admin notifications
These emails go to the admin addresses you set in the Channels tab.
Order created fires when a new order is placed. On by default. Order completed fires when an order is fulfilled. On by default. Payment received fires when a payment is confirmed. On by default.
New listing submitted alerts you when a listing is waiting for review. On by default. Listing approved or published notifies you when a listing goes live. On by default. Listing rejected fires when a listing is not approved — this is off by default, since admins usually know when they reject something. Listing edited fires when an owner updates a listing; off by default. Listing deleted fires when a listing is removed; on by default. Listing contact form fires when a visitor sends a message through a listing’s contact form; on by default. Listing review fires when a new review is posted; on by default.
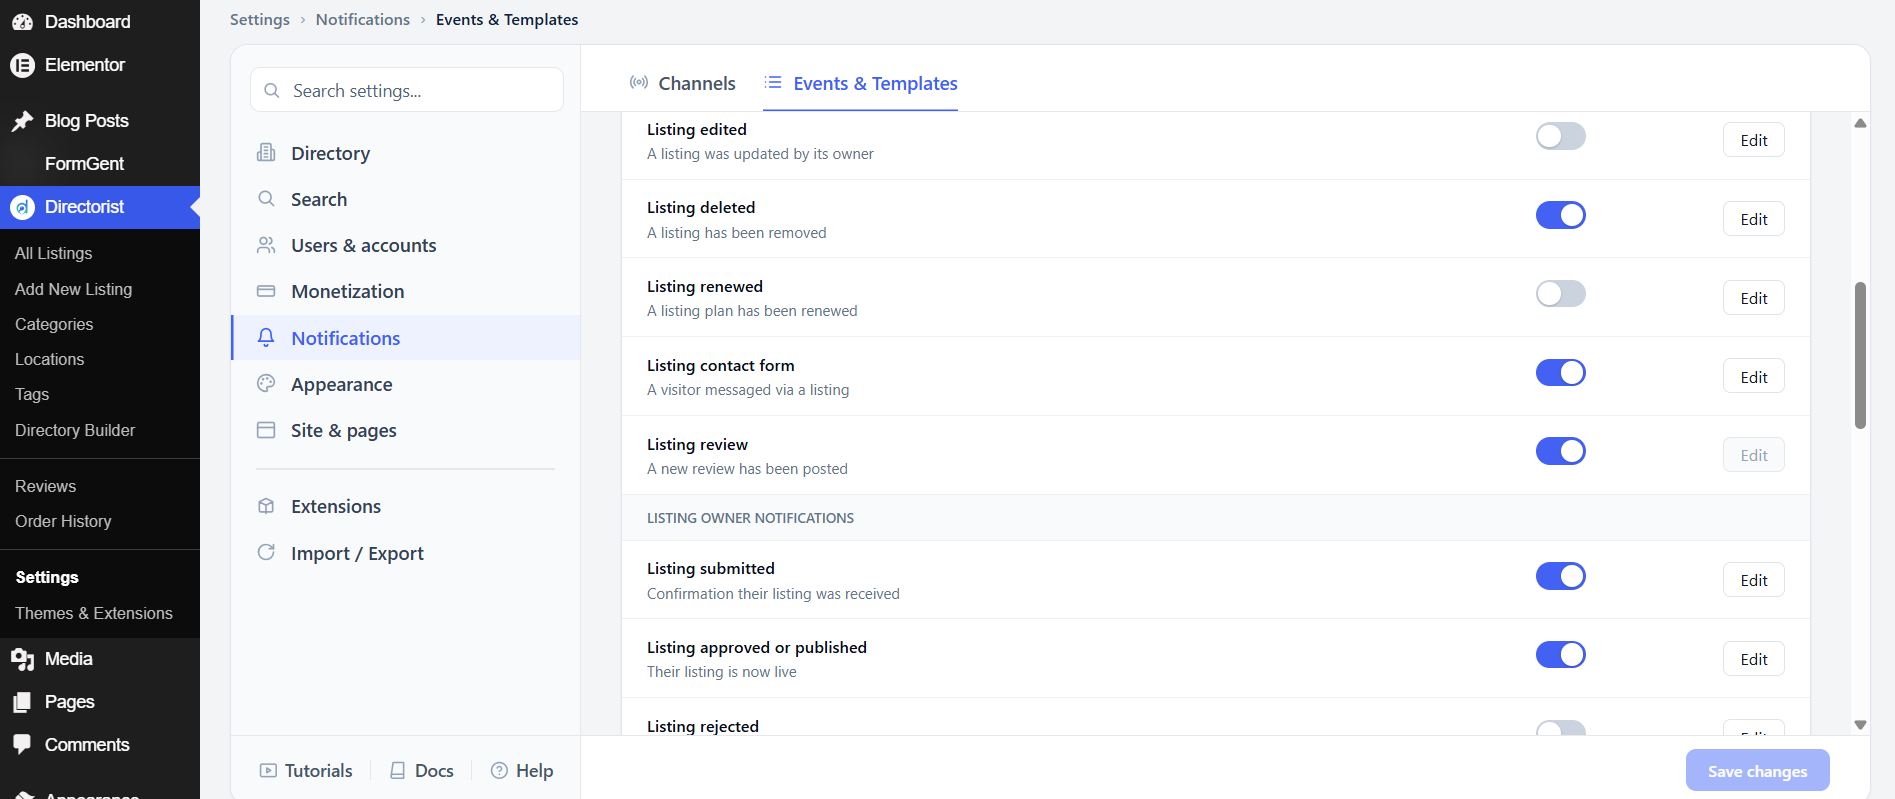
Listing owner notifications
These emails go to the person who owns the listing.
Listing submitted confirms to the owner that their listing was received. On by default. Listing approved or published tells them their listing is now live. On by default. Listing rejected tells them their listing was not approved; off by default. Listing edited confirms their edit was saved; on by default. Listing deleted tells them their listing has been removed; on by default.
Listing nearly expired warns the owner that their listing plan is expiring soon. On by default. Listing expired tells them their plan has ended. On by default. Remind to renew sends a follow-up after expiry to prompt renewal. On by default. Listing renewed confirms a successful renewal; off by default. Listing contact form sends the owner a copy when a visitor messages them through their listing; on by default. Listing review notifies the owner when someone reviews their listing; off by default.
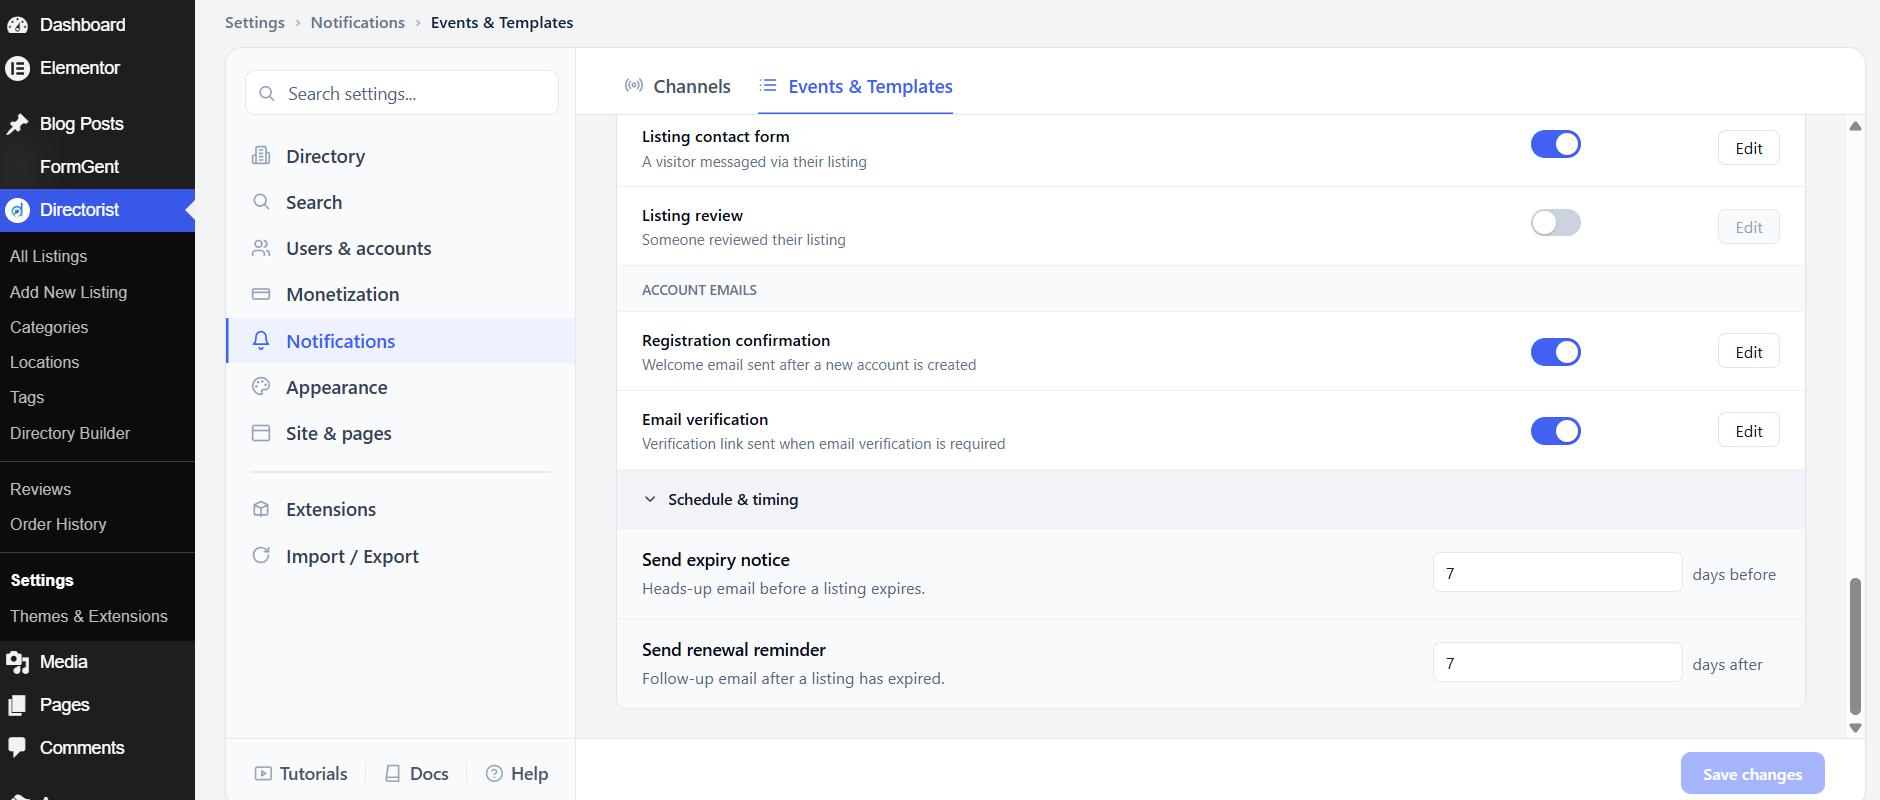
Account emails
Registration confirmation is the welcome email sent to a new user after they create an account. On by default. Email verification sends the verification link when email verification is required on the Registration tab. On by default.
Schedule & timing
Send expiry notice controls how early the “nearly expired” warning is sent. The default is 7 days before expiry. Adjust this if you want more or less lead time.
Send renewal reminder controls when the post-expiry follow-up is sent. The default is 7 days after expiry.
After adjusting these settings, click Save changes.


