Overview #
The Badges section controls which badges appear on listings and what makes a listing qualify for each one. Badges highlight special listings — new, popular, featured, or anything you define yourself — to attract visitor attention.
Directorist ships with three badges already set up. Alongside with these, you’ll find another option “Add badge” that will help you to create and manage custom badges.
| Badge | Preview | Default rule |
|---|---|---|
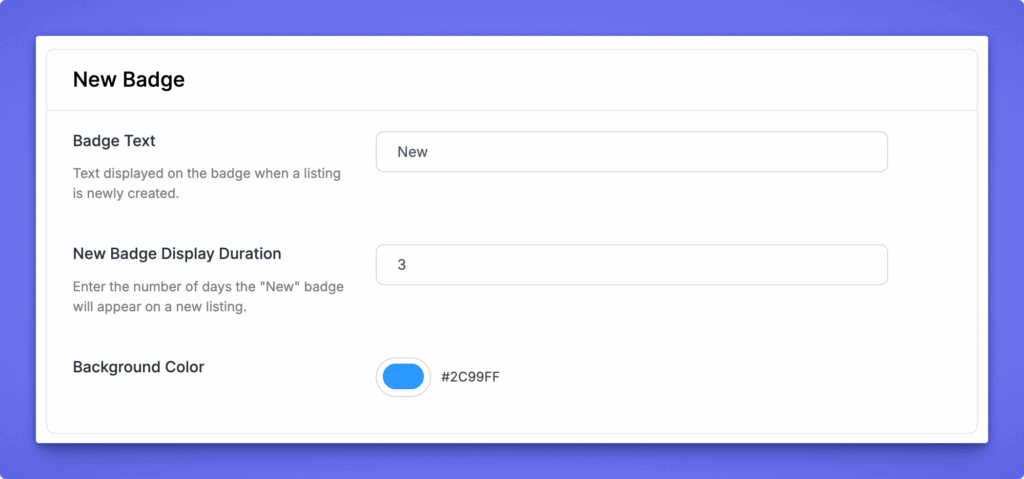
| New | Blue pill, bolt icon | General: Listing age (days) less or equal 3 |
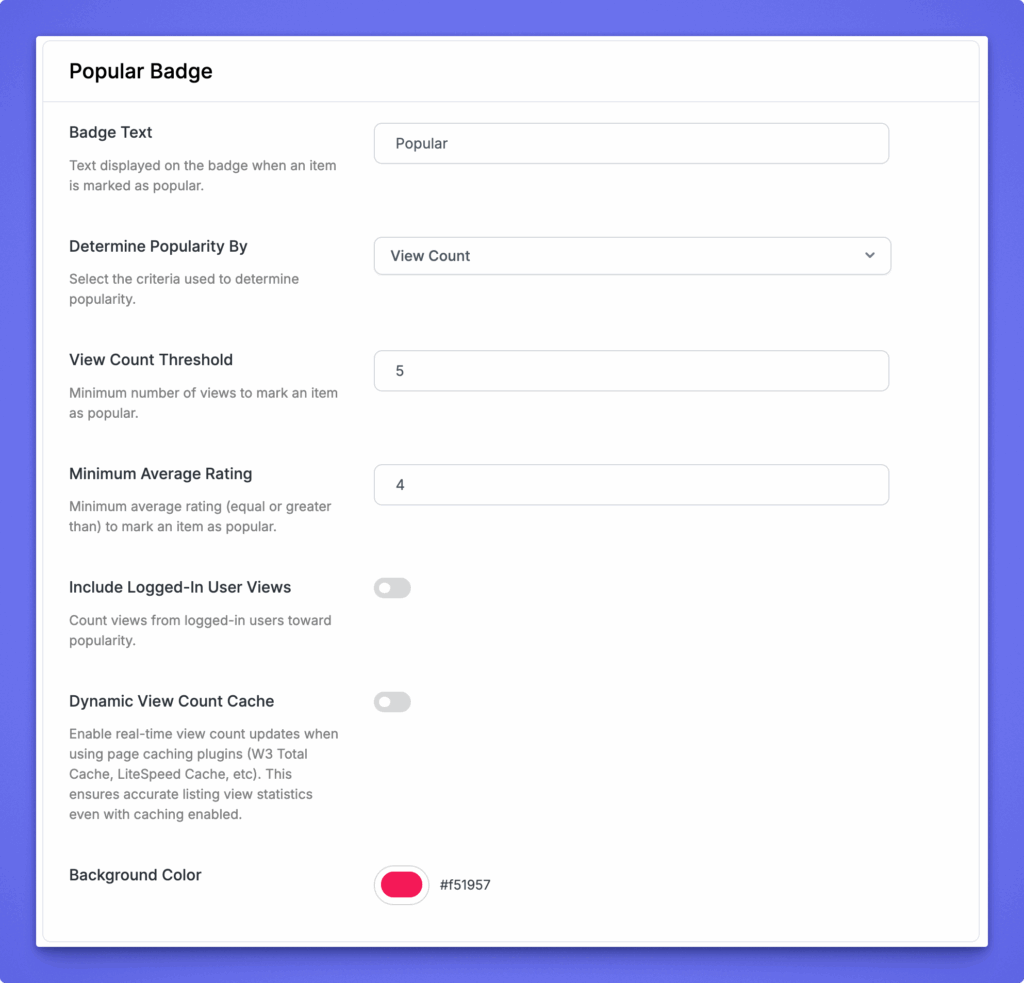
| Popular | Pink/red pill, flame icon | General: View count greater or equal 5 |
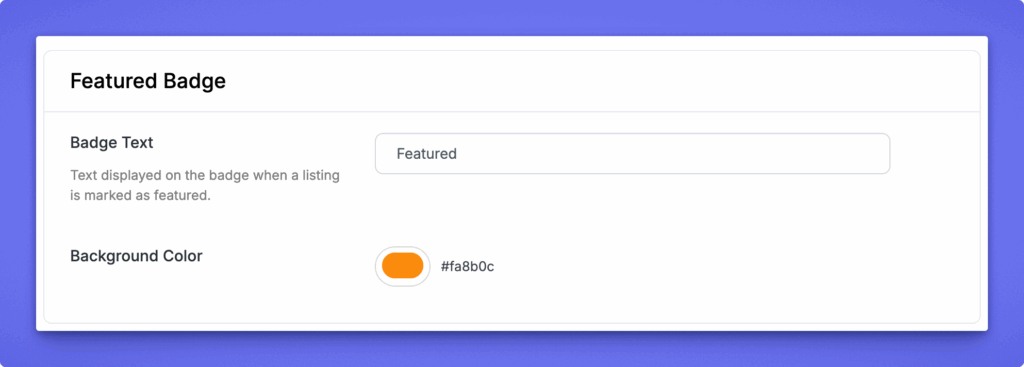
| Featured | Orange pill, star icon | General: Is featured is true |
Each row in the list shows the badge’s live preview pill, its name, a plain-English summary of its rule, a Match dropdown (currently set to All), and a chevron (›) on the right to expand and edit it.

Above the list, on the right, are two buttons:
- Reset defaults — restores New, Popular, and Featured to their original text, colors, and conditions. Use this if you’ve edited the built-in badges and want to undo your changes back to the out-of-the-box setup. This does not remove any custom badges you’ve added.
- + Add badge — creates a new, blank badge for you to configure. This is covered in detail below.
A tip is shown just above the buttons: “keep each badge’s conditions simple. One badge answers one question.” In practice, this means it’s better to create two separate badges — say, “Top Rated” and “Trending” — than to cram both ideas into one badge with a long list of conditions. Simpler badges are easier to reason about later, and easier for visitors to understand at a glance.
Changes on this page aren’t saved automatically — as soon as you edit or add anything, an Unsaved changes indicator appears next to the Save changes button at the bottom of the screen. Click Save changes before navigating away.

Adding a new badge #
Click + Add badge in the top-right corner of the Badges page.
This adds a new badge to the list, ready for you to configure. Click the chevron (›) on that new row to expand it and set it up. Every badge — new or built-in — is configured with the same two sections: Appearance and Conditions.
Appearance #

- Internal name — for your own reference in this list only; it’s never shown to visitors.
- Label — the text shown on the badge itself (or the hover tooltip, if you choose an icon-only style).
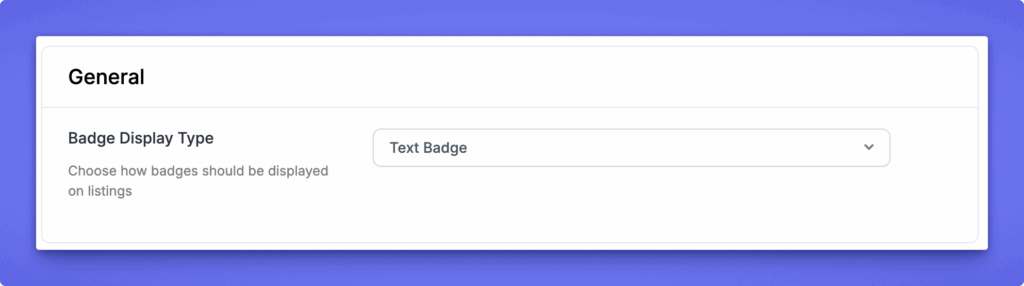
- Style — whether the badge shows as text, an icon, or both — matching the preview pill style you see for New/Popular/Featured.
- Icon — pick an icon from the icon library if your badge uses one.
- Colors — background, text, and border color for the badge, plus separate colors for its hover state.
Conditions #

Click Add condition, then pick a source:
- General — core listing properties: Listing age (days), View count, Average rating, Review count, or Is featured (a yes/no condition). These are the same conditions that power the New, Popular, and Featured badges by default.
- Fields — any supported field from your listing form, across any of your directory types — text, number, select, checkbox, category, tag, location, date, and most other standard field types. What shows up here is pulled live from the fields you’ve actually built into your listing forms, so it will differ directory to directory.
- Pricing — the specific pricing plan a listing is on. This works whether you’re using Directorist’s built-in Pricing Plans, the legacy Pricing Plans extension, or WooCommerce Pricing Plans.
After picking a condition, set its operator and value — for example, Average rating greater or equal 4.5.
You can add more than one condition to a badge. When you do, the Match dropdown on the badge’s row controls how they combine:
- All — every condition must be true (this is the default for New, Popular, and Featured).
- Any — at least one condition needs to be true.

For example, a “Highly Rated” badge could combine Average rating ≥ 4.5 and Review count ≥ 10 with Match set to All — so only listings that are both well-reviewed and genuinely rated highly get the badge, rather than a single five-star review from one person triggering it.

Again, A “Trending” badge combining View count ≥ 50 OR Average rating ≥ 4.5, with Match set to Any — so a listing gets the badge if it’s getting a lot of traffic, even without great reviews yet, or if it’s highly rated, even without much traffic yet.
Once you’re happy with the appearance and conditions, click Save changes at the bottom of the page. The badge is applied automatically to every listing that matches — nothing needs to be manually tagged.
To remove a badge you’ve added, expand it and use its delete option; this is separate from Reset defaults, which only affects the three built-in badges.
Editing the built-in badges (New, Popular, Featured) #
New, Popular, and Featured behave like any other badge in the list — click their chevron to expand and edit label, style, colors, and conditions directly. A few things carry over from the previous version of this page worth calling out:
- New badge — its condition is Listing age (days) ≤ a number you set (3, by default). Raising this number keeps listings marked “New” for longer after they’re published.
- Popular badge — its condition defaults to View count ≥ 5, but you can switch or add a condition based on Average rating instead, or combine both with Match set to Any so a listing qualifies either way.
- Featured badge — its condition is Is featured = true, which reflects a listing being marked featured by an admin or through a paid listing plan.

Editing these three doesn’t remove them from the free “core” set — Reset defaults will always bring them back to their original text, color, and single condition if you want to start over.
Displaying badges on the front end #
Badges configured here appear automatically wherever the Badges element is enabled in your listing layout — the single listing page and the all-listings grid or list cards. To control exactly where badges show up and in what order, go to:
- Directory Builder → Single Page Layout → Listing Header tab → Quick Info, or
- Directory Builder → All Listing Layout → (Grid or List View)
A single position on a listing card can display up to 3 badges at once.