The All Listings Settings section allows you to control the layout and search behavior of the All Listings page. You can define how listings are displayed, how filters work, and how many listings appear per page.
To access it, go to:
WP Admin Dashboard → Directory Settings → Listings → All Listings
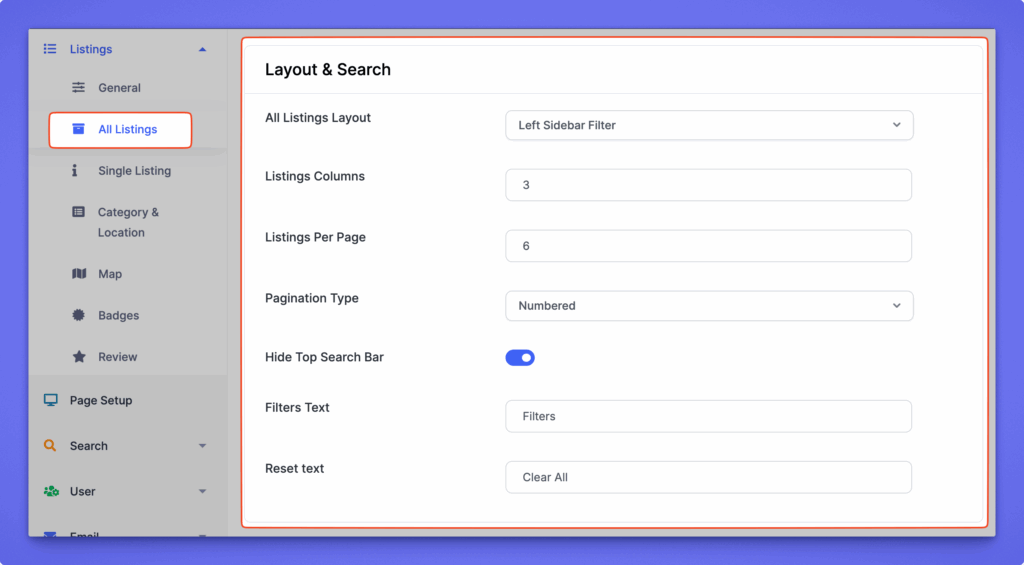
Layout & Search Options #
All Listings Layout #
Choose the layout style for your All Listings page.
- Left Sidebar Filter – Displays filters on the left side of the listing grid.
- Right Sidebar Filter – Displays filters on the right side.
- Top Filter – Displays filters at the top of the listings.
Select the layout that best fits your directory and user experience.
Listings Columns #
Set the number of listing columns to display in grid view.
For example, enter 3 to show three listings per row.
Listings Per Page #
Define how many listings should appear per page before pagination begins.
Example: Enter 6 to show six listings on each page.
Pagination Type #
Choose the pagination style for navigating between listing pages.
- Numbered – Displays page numbers (e.g., 1, 2, 3…).
- Infinite Scroll – Automatically loads more listings as the user scrolls.
Hide Top Search Bar #
Toggle this ON to hide the search bar displayed at the top of the All Listings page. This is useful if you already have search or filter options in a sidebar layout.
Filters Text
Customize the label text for the filter button or filter section.
Default: Filters
Reset Text
Customize the label for the “Clear All” button used to reset filters.
Default: Clear All
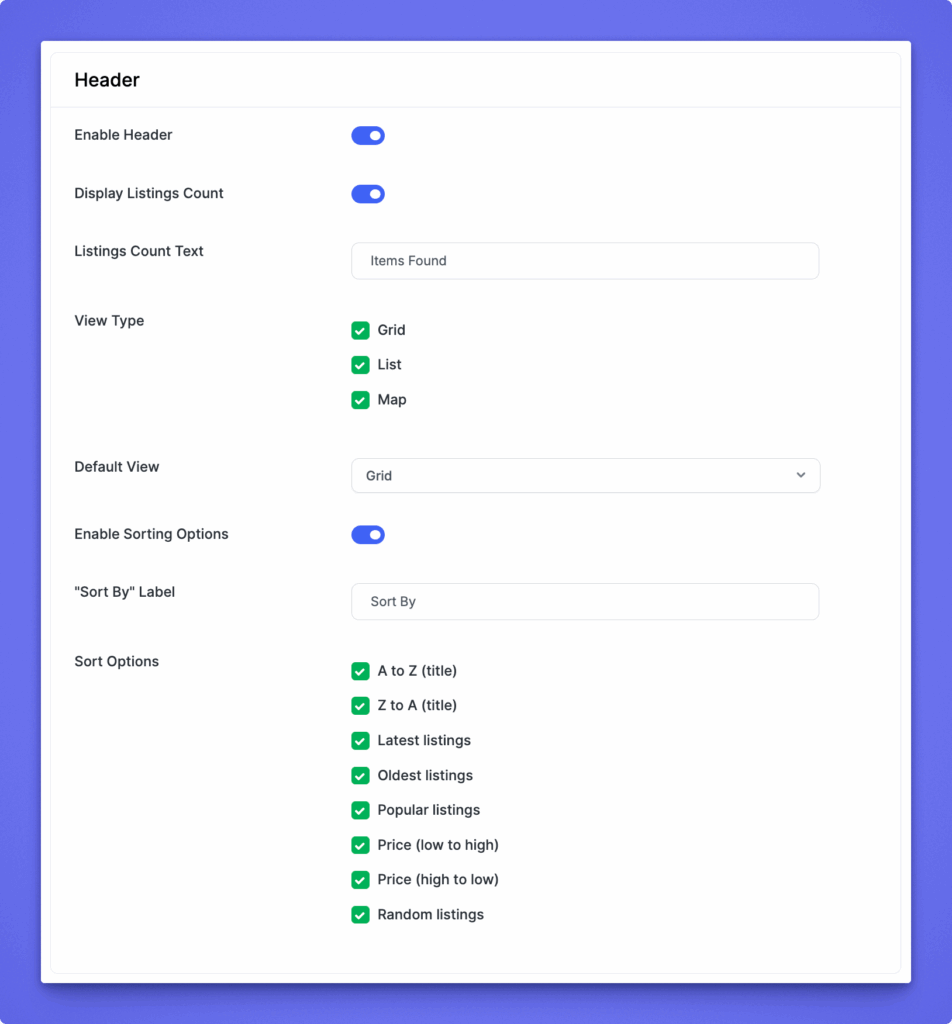
Header Settings #
The Header Settings section allows you to manage how the header area appears on the All Listings page including layout controls, listing counts, and sorting options.
Enable Header #
Toggle this option ON to display the header area on the All Listings page.
Display Listings Count #
Enable this option to show the total number of listings found in the search results.
When active, the text defined in the Listings Count Text field will appear next to the number.
Example:
If there are 10 listings, it will display as “10 Items Found”.
View Type #
Choose which view options visitors can toggle between:
- Grid – Displays listings in multiple columns.
- List – Displays listings in a single-column list view.
- Map – Displays listings on an interactive map.
You can enable one, two, or all three options.
Default View #
Select the view type that loads by default when the All Listings page is opened.
Options include Grid, List, or Map.
Enable Sorting Options #
Turn this on to allow users to sort listings by different parameters.
“Sort By” Label #
Customize the label text for the sorting dropdown.
Default: Sort By
Sort Options #
Choose which sorting criteria should be available in the dropdown:
- A to Z (Title)
- Z to A (Title)
- Latest Listings
- Oldest Listings
- Popular Listings
- Price (Low to High)
- Price (High to Low)
- Random Listings
You can enable or disable any of these based on your directory’s preferences.
Preview Image Settings #
The Preview Image Settings section lets you control how listing preview images appear on your All Listings page. You can customize the image quality, size, container dimensions, and background style to align with your directory’s visual design.
Image Quality #
Select the quality level for listing preview images.
Default size: 640×360 px
If you modify the image quality or size, you’ll need to regenerate thumbnails for changes to take effect.
You can use a thumbnail regeneration plugin (such as Regenerate Thumbnails) for this.
Image Size #
Choose how the image fits within its container.
- Original – Displays the image in its original size.
- Fit with Container – Adjusts the image proportionally to fit within the container without cropping.
- Fill with Container – Expands or crops the image to completely fill the container area.
Container #
Define custom container dimensions for listing images:
- Width – Set the container width (e.g.,
350). - Height – Set the container height (e.g.,
260). - Size By – Choose whether to measure by Pixels or Ratio.
Background #
Customize the background style that appears behind the listing image.
- Blur – Adds a subtle blur effect behind the image for a modern look.
- Custom Color – Lets you set a solid background color of your choice.
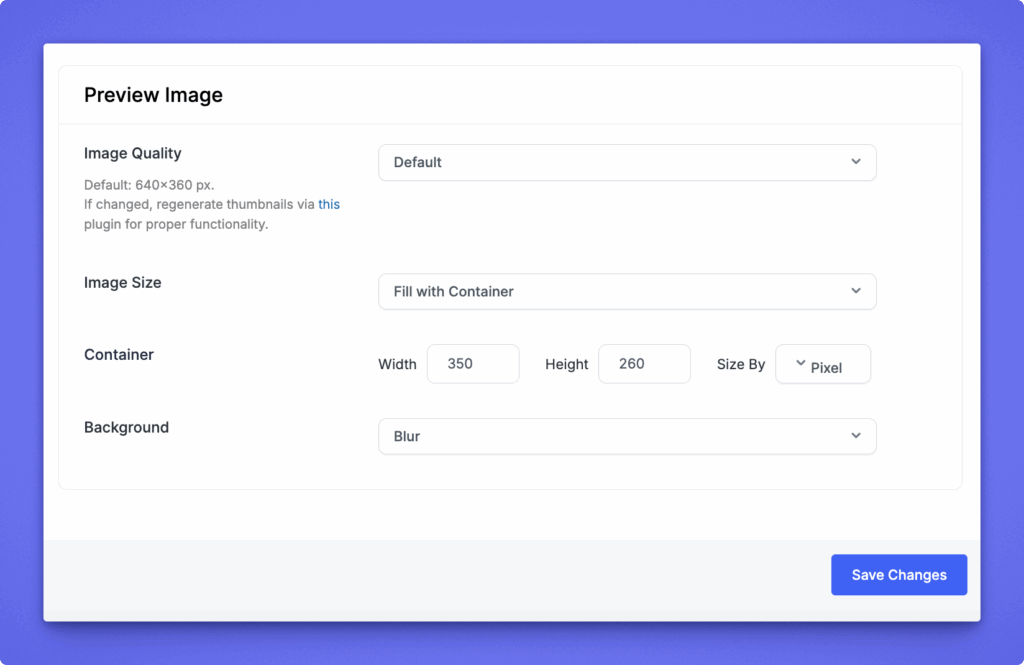
After making changes, click Save Changes (top-right or bottom-right corner) to apply your updates.


