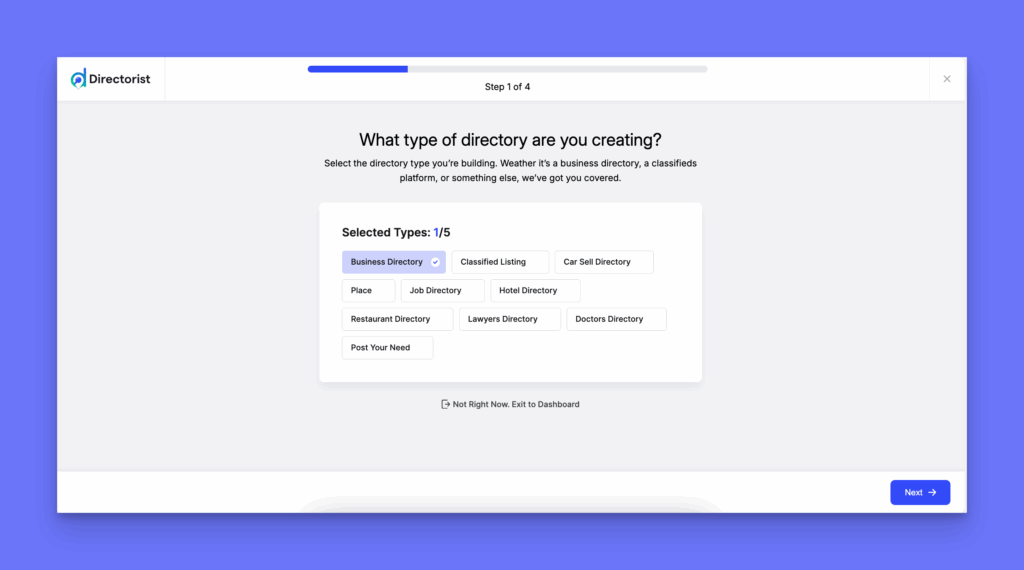
After activation, the Directorist Setup Wizard will launch automatically to guide you through the basic configuration. Alternatively, you can skip it by clicking the “Not Right Now, Exit to Dashboard” button, but it is highly recommended for beginners.
- Step 1: Choose a preset directory type or start from scratch.
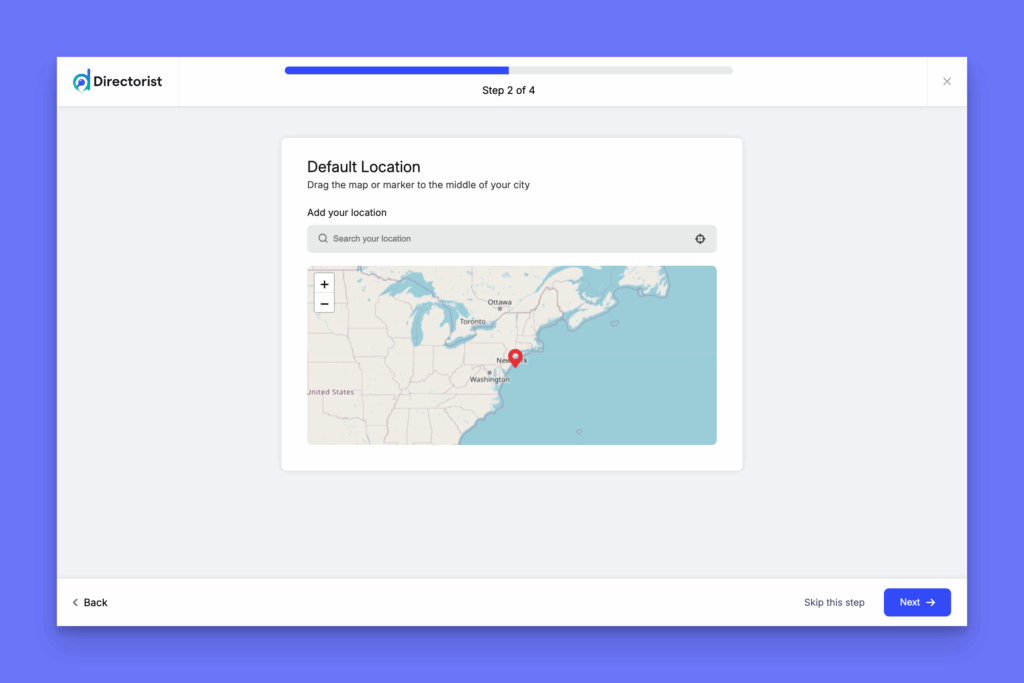
- Step 2: Select a default location by dragging the map marker or entering your city name in the search bar.
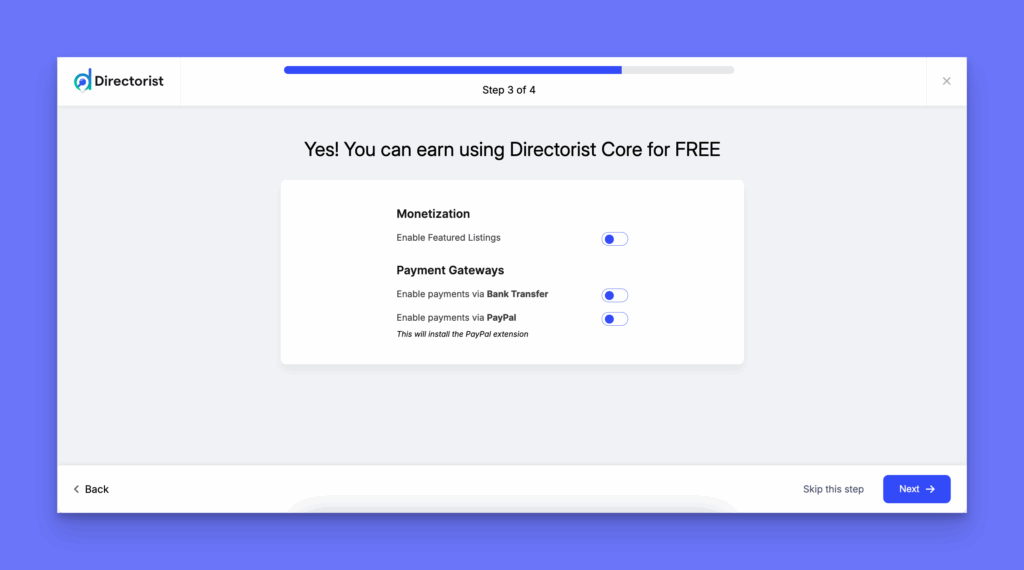
- Step 3: Activate monetization, set up your fees, and choose your preferred payment gateways. You can also skip this step if you wish.
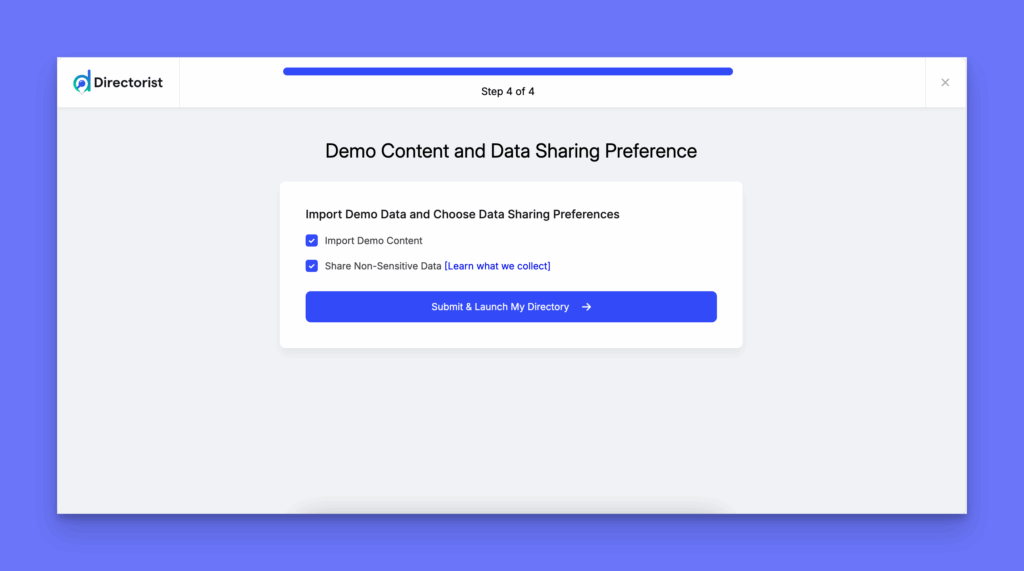
- Step 4: Import demo listings content, and set your data sharing preferences.
- Step 5: Finally, you can either go to the WordPress dashboard or create a listing all by yourself. For now, select the “Create Your First Listing” button.
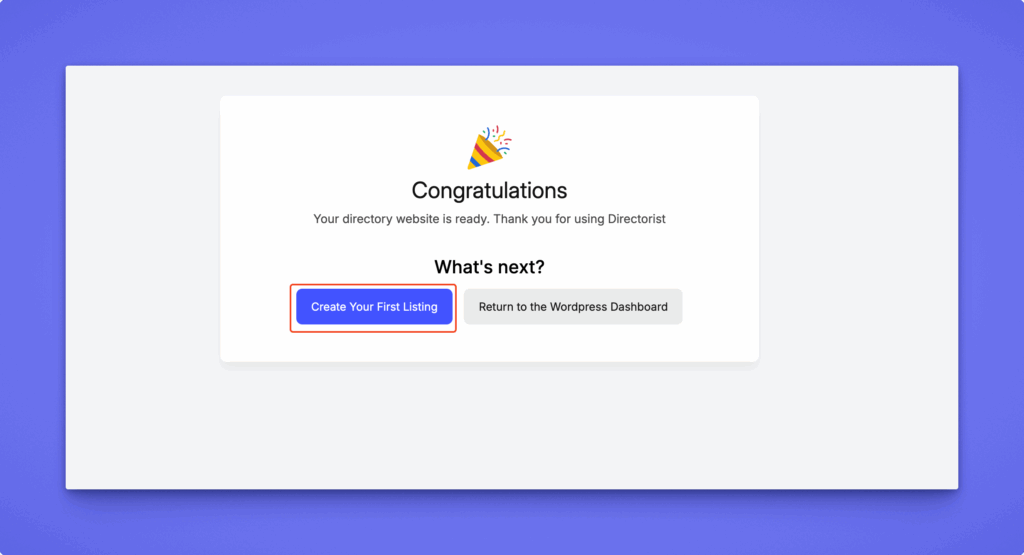
Create Your First Listing #
Now, you will be taken to the “Add Listing Page” option to create your first listing. However, if you returned to the WordPress Dashboard, navigate to the Directorist Listings > Add New Listing > Input Listing Data > Publish.
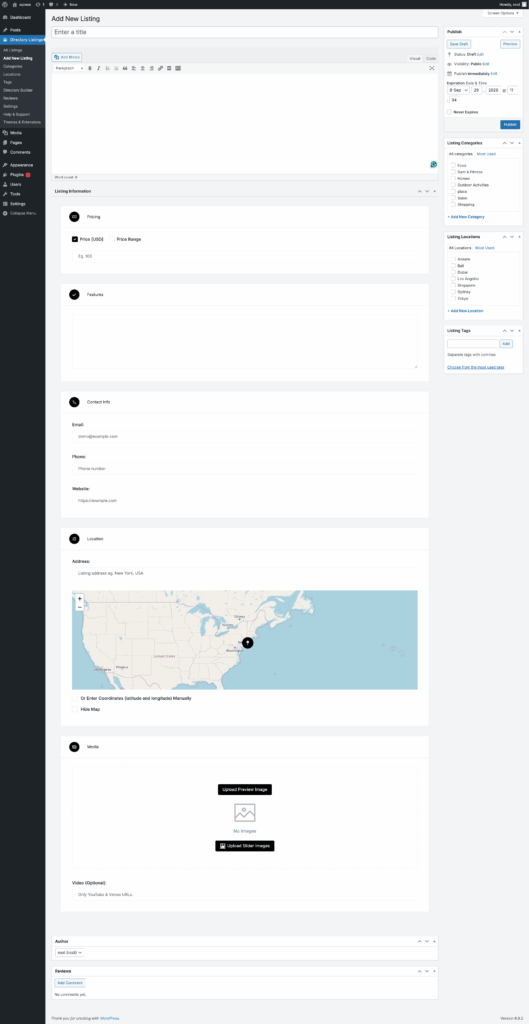
Please note that as an admin, you are creating this listing manually but later the users or visitors will be able to sign up and submit their listing from the frontend. You can also turn it on or off.


