Overview #
The Directorist Booking & Reservation Extension enables administrators and listing owners to accept and manage online bookings directly from the dashboard and admin panel. It enables visitors to check availability, schedule appointments and make reservations seamlessly. The extension has been fully revamped with a modern, intuitive interface designed to deliver a seamless user experience.
This makes it ideal for service-based businesses such as Hotels & accommodation providers, Salons & Wellness Centres, Event Venues, Rental Agencies, Tour & travel operators, Consultants and service professionals.
Key Features #
- Seamless Booking Management: Admins and listing owners can manage appointments and reservations directly from the dashboard.
- Real-Time Availability: Visitors can check available slots and book services or rentals instantly.
- Multiple Booking Types: Supports Service and Rental/Event bookings, with the flexibility to enable one or both types.
- Guest Booking Option: Allow users to book without creating an account, or restrict bookings to registered users.
- Commission Management: Set a commission percentage for the site owner on each booking.
- Booking Visibility Control: Choose to enforce or allow hiding of booking functionality per listing type.
- Customizable Labels: Rename fields such as Booking Type, Booking Hiding, Weekend Price, and Calendar Labels.
- Booking Widgets: Add booking forms to listing sidebars for easy access.
- Instant Booking: Enable automatic booking confirmation without manual approval.
- Single Listing Integration: Fully integrated with listing pages, both frontend and backend, for a smooth user experience.
- Flexible Form Builder: Customise the Add Listing Form and Single-Page Layout (Contents) to match your site’s requirements.
Installation #
Follow the steps below to install and activate the Booking & Reservation Extension:
1. Install the Extension
- Navigate to Directory Listings > Themes & Extensions.
- Locate “Appointment & Booking” in the extensions list.
- Click Install, and once completed, select Activate
2. Enable the Extension
- Go to Directory Listings > Settings > Extensions > Extension General.
- Toggle Booking to enable the extension.
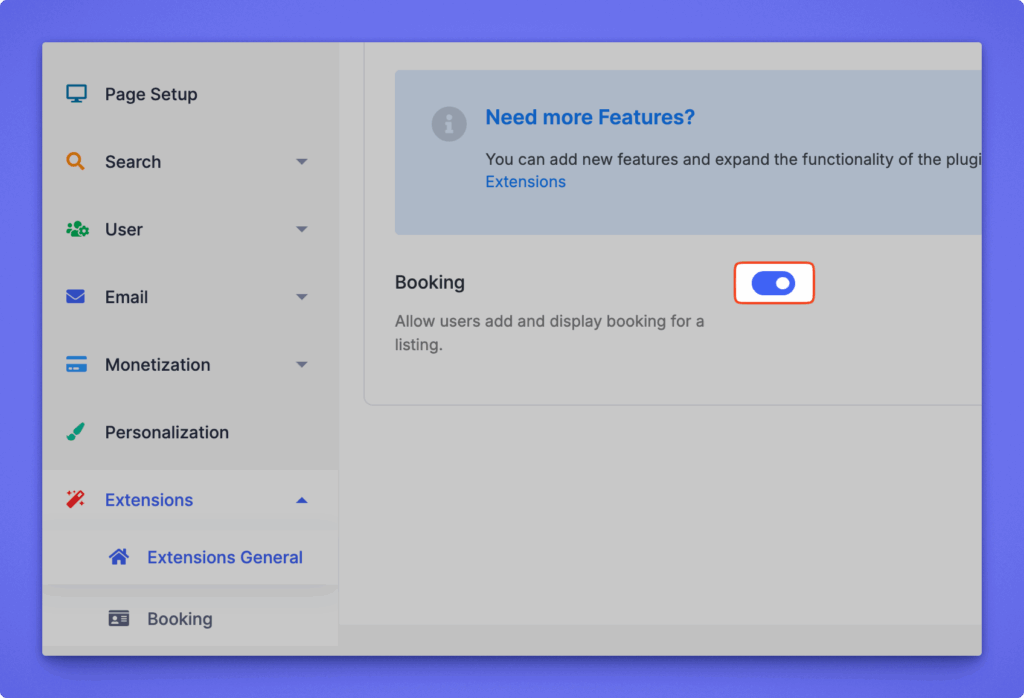
Click Save Changes to apply the settings.
Configuration #
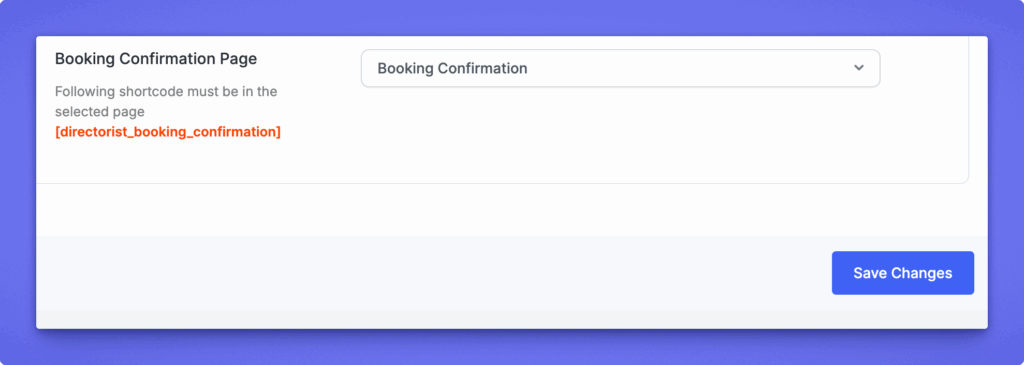
After activating the Booking & Reservation Extension, Directorist automatically creates a Booking Confirmation page containing the shortcode:
[directorist_booking_confirmation]
This page is required to process and display booking confirmation details.
Assign the Confirmation Page
To ensure proper functionality, verify that the page is correctly assigned:
- Navigate to WP Admin Dashboard ➝ Directory Listings ➝ Settings.
- Go to Page Setup ➝ Pages, Links & Views.
- Locate the Booking Confirmation Page setting.
- Select the page containing the shortcode.
- Click Save Changes.
Setting the Sidebar
To enable users to initiate bookings directly from a single listing page, you must add the Directorist – Booking widget to the listing sidebar.
Add the Booking Widget
Follow the steps below:
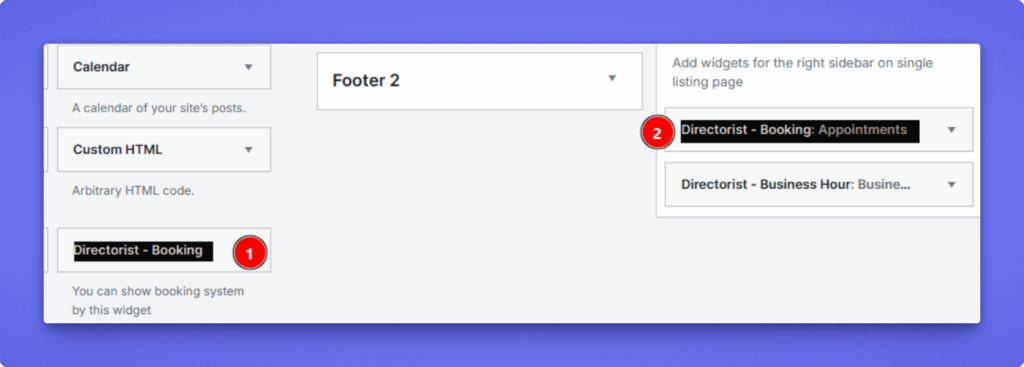
- Navigate to Appearance → Widgets in your WordPress admin panel.
- Locate the widget named Directorist – Booking.
- Drag and drop it into the Directorist – Listing Right Sidebar area.
This widget provides the booking form and simplifies the process for users to schedule services, appointments, or events.
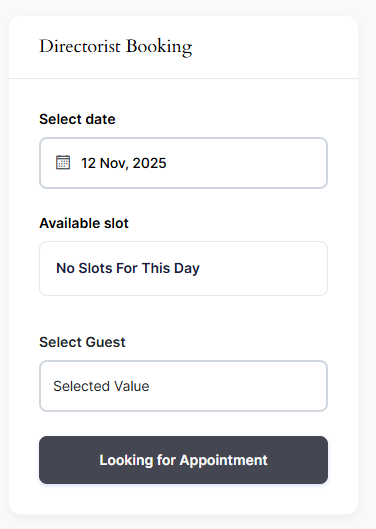
After adding the booking widget, it will appear in the single listing page “Directorist Listing Right Sidebar”
Additional Notes
To ensure the booking widget appears on the Single Listing Page, navigate to the Directory Builder and adjust the following layouts as needed:
- Add Listing Form
- Single Page Layout
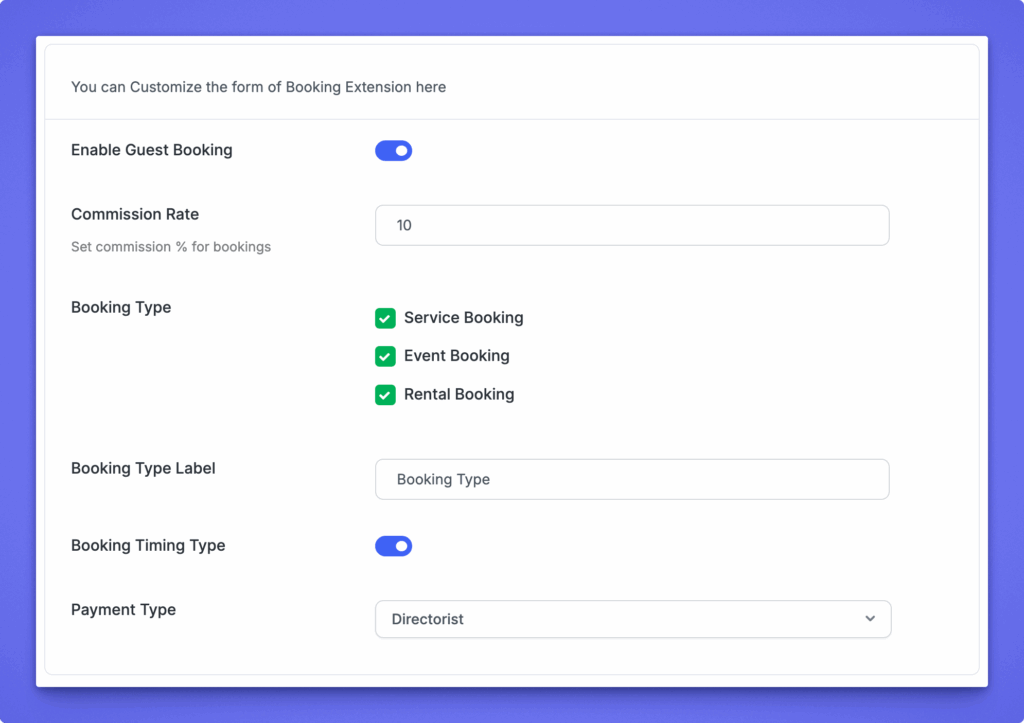
Booking Settings #
This helps you set global booking preferences, labels, and behavior for all listings across your directory. These settings ensure consistency while giving you the flexibility to customize how booking fields appear on the Add Listing form. After completing the configuration, listing owners can fine-tune their own booking options with confidence.
Path: Directory Listings > Settings > Extensions > Booking
Note: These settings only reflect on the add listing form.
Guest Booking Option: This option allows you to enable and disable the guest booking option.
Commission Rate: You can set and define the commission percentage of using the option. If the percentage is 10%, that means 10 of 100 will get the site owner and the rest 90 will get the listing owner.
Booking Type
Choose which booking types are available for your listings.
- Service Booking – for services or appointments.
- Event Booking – for event-based reservations.
- Rental Booking – for rentals or time-based bookings.
Booking Type Label
Customize the label text that appears on the form for booking type selection.
Booking Timing Type
Enable this if you want to allow time-based bookings (e.g., hourly, daily).
Payment Type
Select the payment system to be used for bookings. By default, it uses Directorist default system.
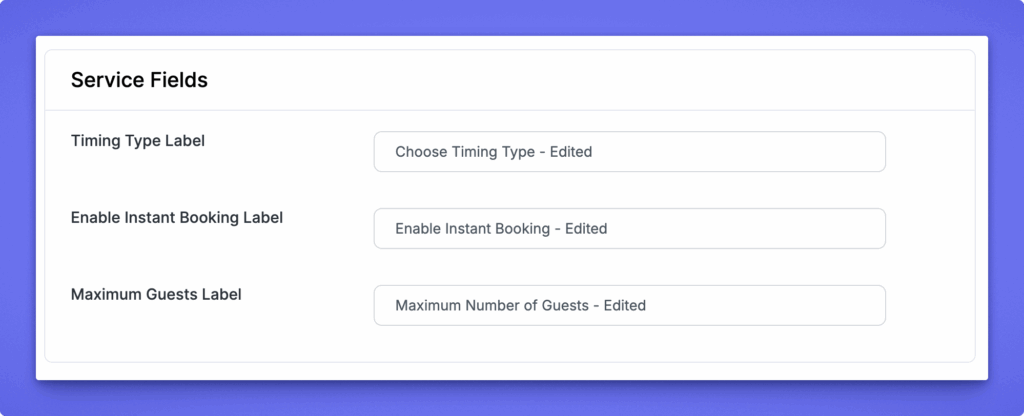
Service Fields #
This section allows you to customize the label text used for service-based bookings. These settings only change the wording shown on the Add Listing form. They do not affect the booking logic or functionality.
Available Label Options #
- Timing Type Label – Update the label for the timing selection field.
- Enable Instant Booking Label – Customize the text for the instant booking toggle.
- Maximum Guests Label – Change the label for the field where listing owners define the maximum number of guests allowed per booking.
Event Fields #
Customize the labels shown on the Add Listing form: Available Ticket Label (total tickets available) and Tickets Allowed Per Booking Label (maximum tickets a user can book per reservation).

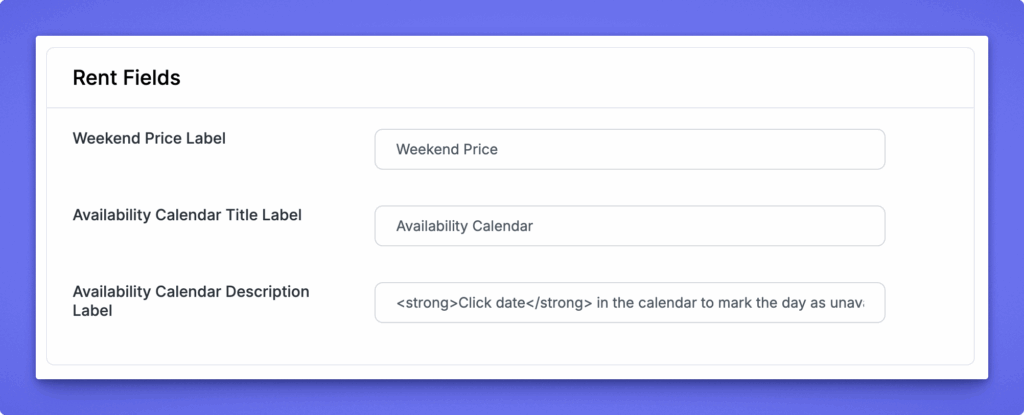
Rent Fields #
Customize the labels shown on the Add Listing form: Weekend Price Label, Availability Calendar Title Label, and Availability Calendar Description Label used to guide listing owners when setting rental availability
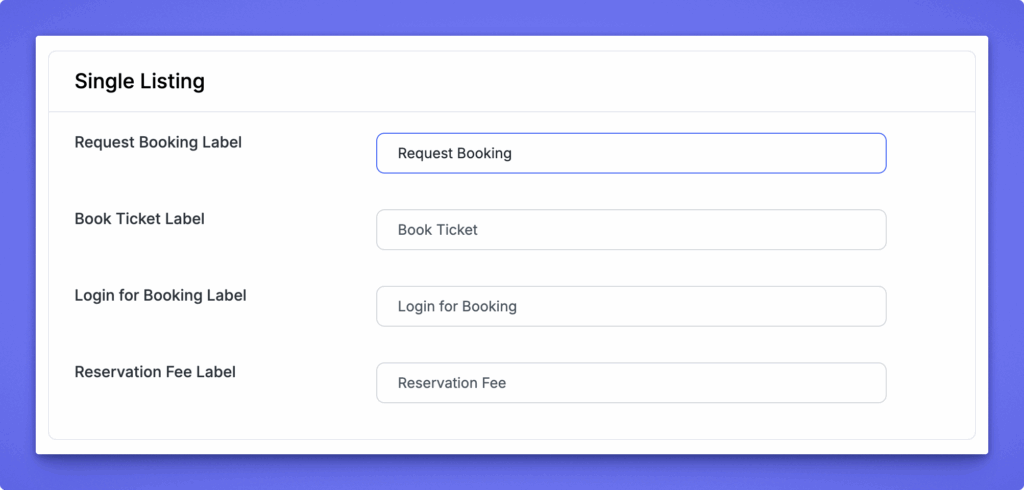
Single Listing #
Customize the labels shown on the listing details page: Request Booking Label, Book Ticket Label, Login for Booking Label, and Reservation Fee Label used to control booking-related text on single listing pages.
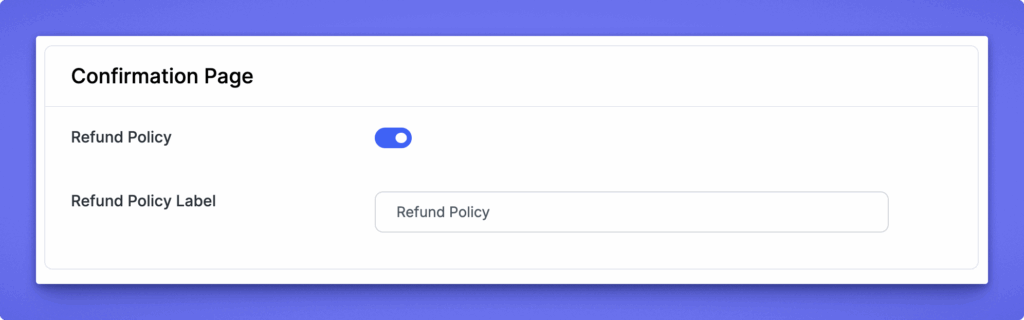
Confirmation Page #
Enable or disable showing a refund policy on the confirmation page, and customize the Refund Policy Label to control how the refund policy text appears to users.
After updating your settings or labels, click Save Changes to apply all modifications.


