Registration Form Customization #
Navigate to Directory Listings → Settings → User → Registration Form to customize how the registration form appears and behaves on your site.
Each field on this page can be enabled, renamed, or marked as required.
Available Fields #
- Username, Password, Email – Core fields required for registration.
- You can edit labels and toggle the “Required” option.
- Website, First Name, Last Name, About/Bio – Optional fields.
- Enable only if you want to collect additional user info.
- User Type Registration – Allows users to select their role (e.g., Author, User).
- Privacy Policy – Enable and set custom label and link text for the policy agreement.
- Terms & Conditions – Enable and customize text and link for the terms checkbox.
- Sign-Up Button – Modify the button text.
- Login Message – Display a message like “Already have an account?” with a login link.
- Auto Login After Registration – Automatically log in users after registration.
- Redirection After Registration – Choose where users will be redirected (e.g., Sign In page or Dashboard).
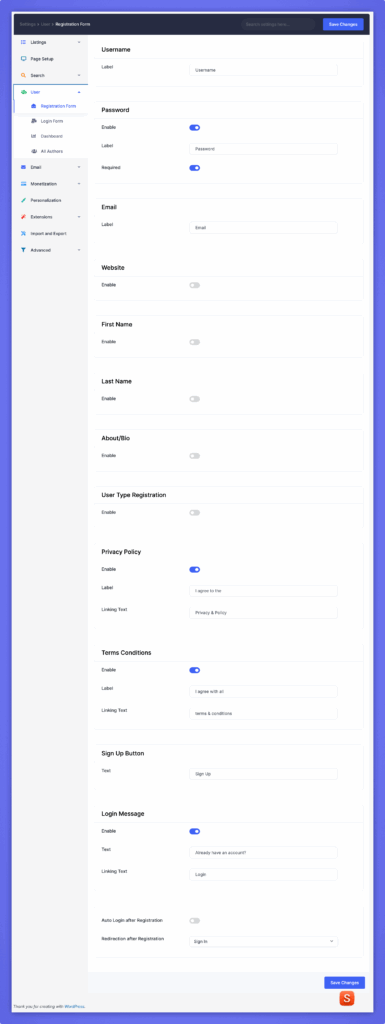
After completing changes, click Save Changes to apply them.
Login Form Customization #
Navigate to Directory Listings → Settings → User → Login Form to personalize the login form layout and text. Each field and message can be customized for better user experience.
Available Options #
- Username – Edit the label (e.g., “Username or Email Address”).
- Password – Customize the label displayed beside the password input.
- Remember Login Information – Enable or disable the “Remember Me” option and modify its label.
- Login Button – Change the button text, for example, “Log In” or “Sign In.”
- Sign Up Message – Display a message for new users such as “Don’t have an account?” with a custom link text for registration.
- Recover Password – Enable password recovery and configure:
- Section name and description
- Email label and placeholder
- Recovery button text (e.g., “Get New Password”)
- Redirection After Login – Choose where users will be redirected after logging in (e.g., Previous Page, Dashboard).
Once customization is done, click Save Changes to update the login form settings.
User Dashboard Customization #
Navigate to Directory Listings → Settings → User → Dashboard to control what users see in their personal dashboard. You can enable or rename tabs, set listing display preferences, and manage author options.
Profile & Favorites #
- Display My Profile Tab – Enable or disable the profile tab and rename its label.
- Display Favourite Listings Tab – Show or hide the favorites tab and customize its label.
Author Dashboard #
- Display My Listing Tab – Enable the “My Listings” section for authors and rename it if needed.
- Listings Pagination – Control whether listings are paginated.
- Listings Per Page – Define how many listings appear per page.
- Display Submit Listing Button – Show or hide the “Submit Listing” button directly on the dashboard.
User Dashboard #
- Display “Become an Author” Button – Enable the option for users to upgrade to author status and edit its label.
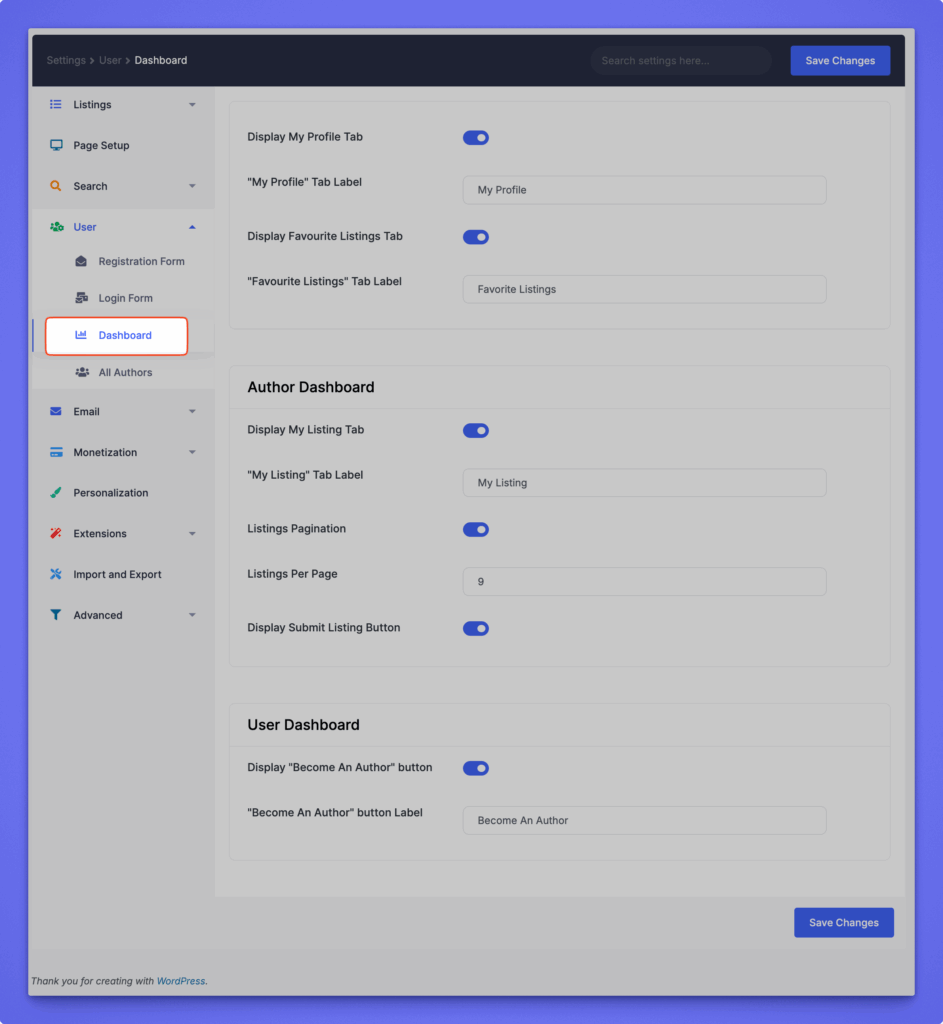
Click Save Changes after configuring your preferred dashboard layout.


