

The single listing page is what a visitor sees when they open one specific listing, the name, photos, description, contact details, map, everything that makes up that one entry in your directory. This article covers designing that page with Divi, using the Theme Builder instead of the Visual Builder.
If you haven’t read Getting Started with Divi Integration Extension and Designing All Listing Page with Divi yet, read those first. This article assumes you already know the difference between the Visual Builder and the Theme Builder, covered in the first article.
Why This Page Works Differently #
The All Listings page is built with the Listing Loop module, because that page needs to query and display many listings at once, with search, filters, and pagination. A single listing page only ever needs to show one listing, whichever one the visitor is currently viewing, so it doesn’t need a query loop at all.
Because of that, this page is built entirely through the Divi Theme Builder, not the Visual Builder, and it doesn’t use the Listing Loop or Listing Card Template modules you used on the All Listings page. Instead, you build a template once, and Divi automatically fills it with each listing’s own data whenever someone opens that listing.
Step 1: Create a New Template #
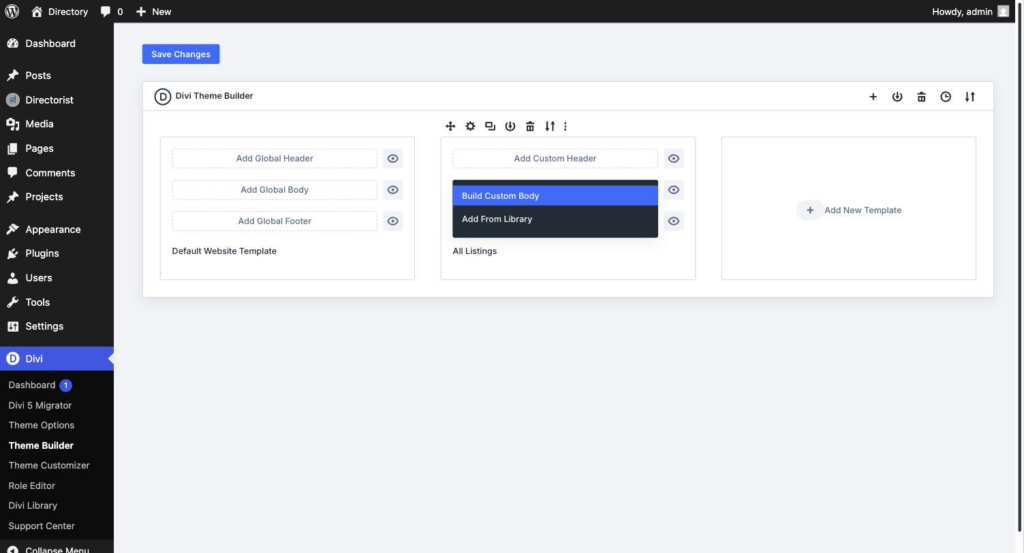
- Go to Divi → Theme Builder.
- Click Add New Template, then choose Build New Template.
- In Template Settings, scroll down past Pages, Posts, and Archive Pages until you reach the Listings section.
- Select All Listings to apply this template to every listing on your site, regardless of directory type. If you want a different design for one specific directory type, use Listings with Specific Directory Type instead and choose the directory.
One thing worth clarifying: “All Listings” here is a condition meaning every individual listing post, it’s not the same as the All Listings archive page. The wording is easy to mix up since both use the same phrase for two different things.
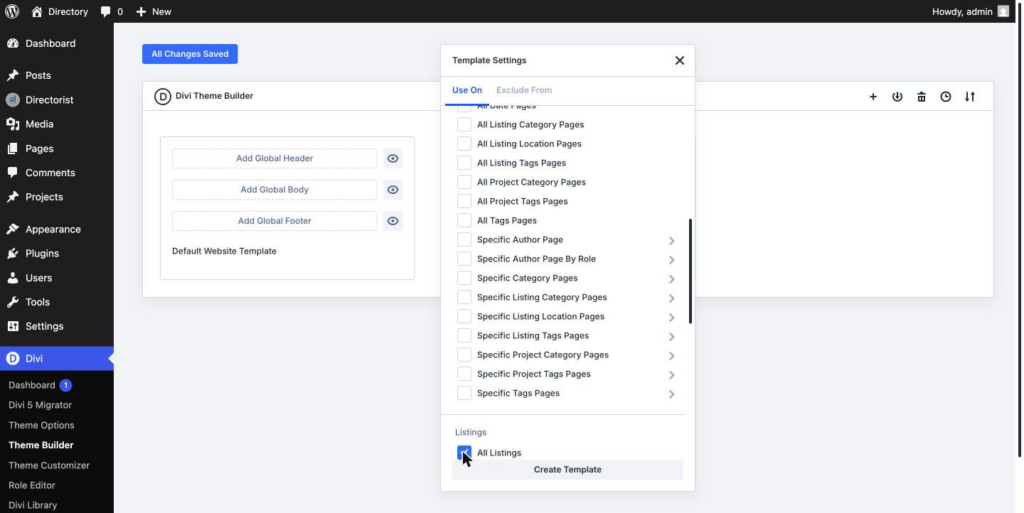
- Click Create Template.
Step 2: Build the Custom Body #
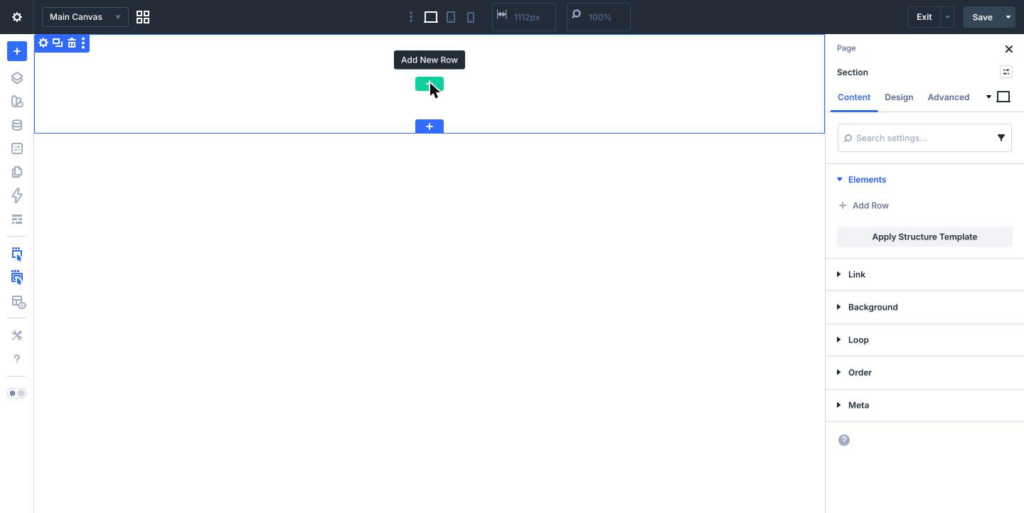
- Click Add Custom Body, then choose Build Custom Body.
- Divi opens a blank canvas. Insert a new row, a single column works for most layouts, though you can use two columns if you want a sidebar (for example, main content on the left, map and contact details on the right).
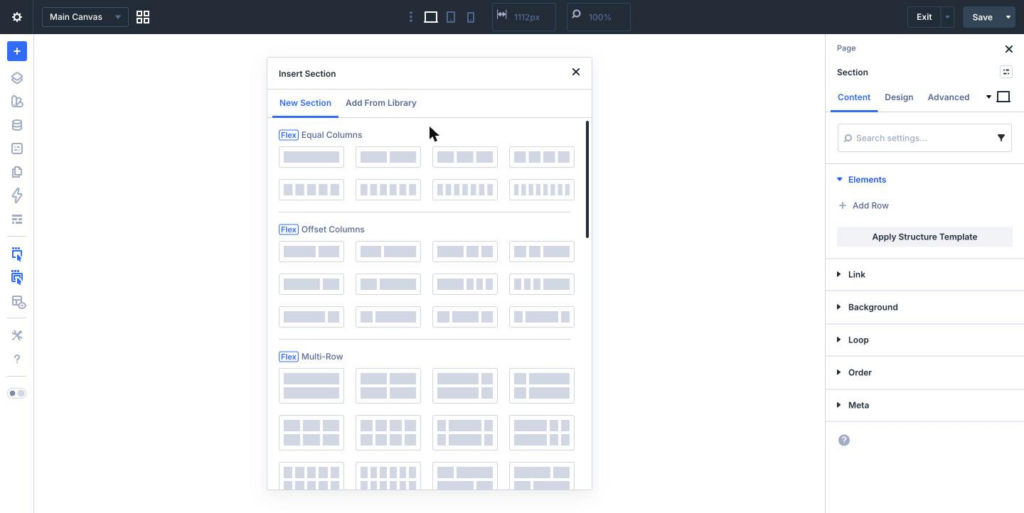
- Click the plus icon inside the column to open the module picker. Unlike the All Listings page, there’s no Listing Loop or Listing Card Template step here, you add listing field modules directly into the column.
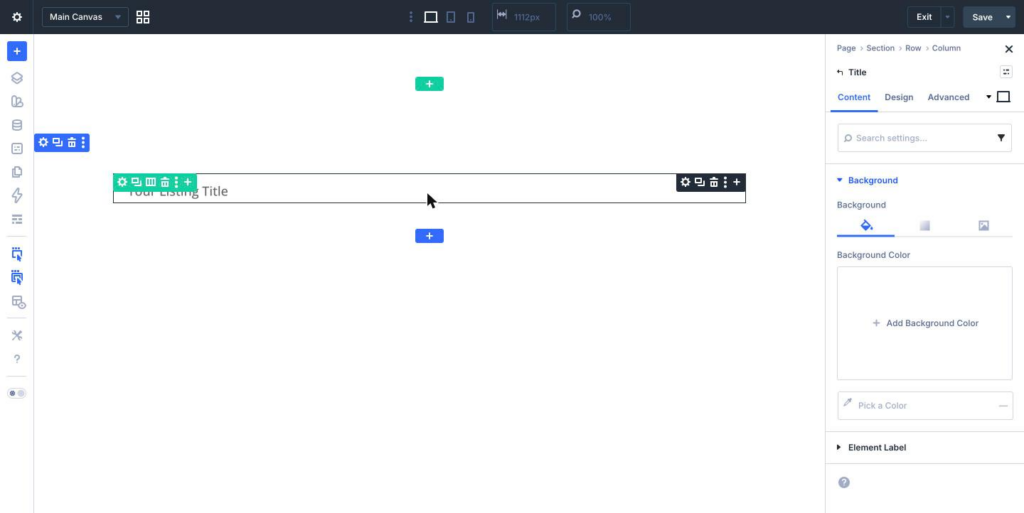
Add whichever fields make up your listing page. A typical layout might be:
- Listing Image Slider — the listing’s photo gallery, usually at the top.
- Title — the listing name.
- Description — the full listing details.
- Address, Phone, Website — contact fields, each pulling its saved value automatically.
- Map — the listing’s location, based on its saved address.
Each field module pulls its value from whichever listing the visitor is currently viewing. There’s nothing to configure for that, it happens automatically once the template is assigned.
Adding More Fields #
Every module already placed shows an Elements list in the right panel, with an Add Element button underneath it. Click it to open the same module picker again, this works exactly the same way whether you’re adding the first module to an empty column or the tenth module to an existing one.
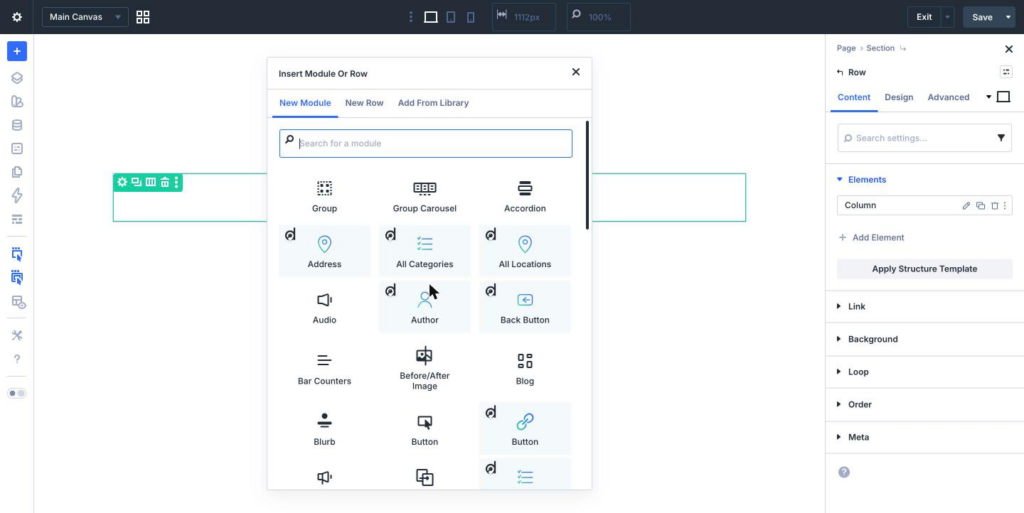
If your directory type has custom fields, they’ll appear in this same picker, matching the fields you set up in Directorist’s Directory Builder.
Step 3: Style Each Module #
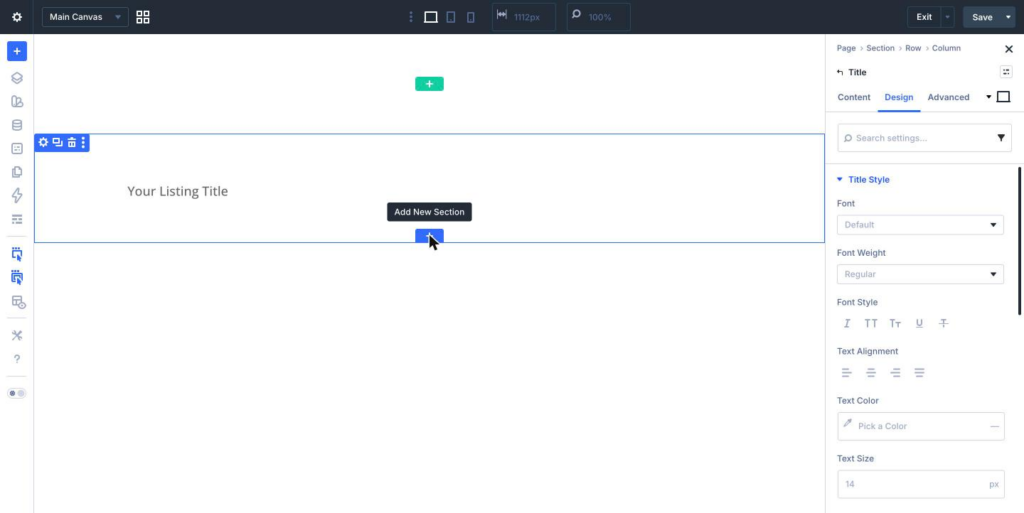
Every field module works exactly like any other Divi module, Content tab, Design tab, Advanced tab. Select the Title module, for example, and use the Design tab to set its font, size, weight, and color to match the rest of your site. Do the same for every other field until the page looks the way you want.
Step 4: Handle Optional Fields #
Not every listing will have every field filled in. On any field module, open the Advanced tab, find Conditions, and set it to hide the module when its field has no saved value. Use this for optional fields, phone, website, social links, so the page adjusts automatically per listing instead of showing empty gaps.
Step 5: Save and Verify #
- Save the template, then exit the builder.
- Click Save Changes on the Theme Builder page.
- Open a real listing on the frontend, not a placeholder or preview.
- Confirm every field is pulling real data: image, title, description, address, map.
- Open a second, different listing and confirm the same template adapts to its data too.
- Check the mobile layout in Divi’s responsive preview and on a real device.
Common Issues #
A field shows no value. Confirm you’re testing with a real, published listing, not the builder’s placeholder preview, and that the field actually has a saved value on that listing.
The template doesn’t seem to apply. Double check the condition assigned to the template. If you used “Listings with Specific Directory Type,” the template only applies to listings in that directory, other directory types will fall back to the default theme output unless they have their own template.
Layout looks different across listings. This usually means a field’s Conditions setting (hide if empty) is working as intended, one listing has a value for a field and another doesn’t. Confirm this is expected before treating it as a bug.
What’s Next #
Both the All Listings page and the Single Listing page are now covered. Together, they handle the two most-used pages in any Directorist site, the page visitors browse, and the page they land on once they click through to a specific listing.


